Last updated on October 30th, 2015 at 11:47 pm
Re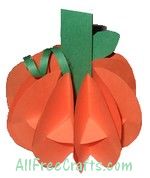 cycle your prettiest Christmas cards and make either a four-tiered card mobile or individual ornaments to trim your Christmas tree.
by Jane Lake
This project is similar in construction to our 3D Paper Pumpkin.
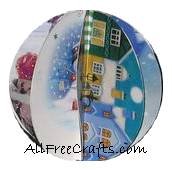
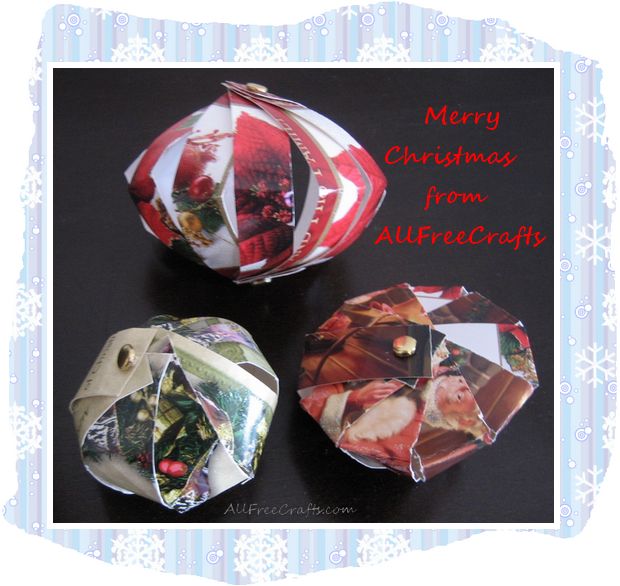
Essentially, you cut up Christmas cards into lots of circles, bend most of them in half, and fit them around another circle to make each ornament. To vary the theme, you can cut different shapes, such as the shaped orb used as the last ornament in our mobile.
Craft Supplies:
- Christmas cards with pretty, colorful designs
- fishing line or similar strong thread
- scissors
- compass to draw circles, or several circular objects to draw around, such as round plastic lids
- pencil
- beads of several sizes; some must be large enough to anchor the card ornaments in place on the fishing line
- darning needle, nail or awl to make a hole
- large bead, wine glass charm, baubly earring or tassel to place at the bottom of the mobile.
- craft glue – although not strictly necessary, it can help the ornaments to keep their shape. Also needed to attach a hanger for single ornaments.
Project Instructions:
1. Cut ten circles of the same size for each ornament. You may use a pencil and compass to draw the circles, or trace around a round plastic jar lid or juice can lid. Cut out just outside the traced lines.
2. One of the circles will be used as the ornament base. If you are making a mobile, you will need to make a small hole in the centre of this circle with the point of the compass, or a needle. This will be where you thread the fishing line that hangs in the middle of the mobile.

3. Fold nine of the Christmas card circles in half to form an arc (like a half moon). Fold this half circle in half again, to form a quarter circle, as shown on the diagram at right.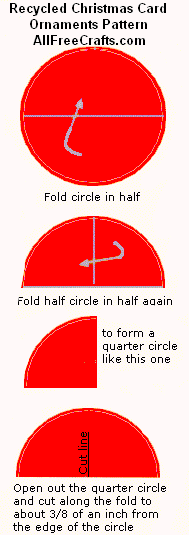
4. Open out the quarter circle. You will now have a fold line in the center. Cut along the fold line to a point about 3/8 of an inch from the edge of the circle.
Assembling Single Ornaments
Take one of the nine prepared circles and slide the cut line onto the base circle. Continue adding circles until all nine are in place. Gently arrange the segments evenly around the base so the ornament is nice and round.
Fold over a small piece of ribbon or a piece of string to make a hanger and glue it to the top center of the ornament. If you wish, you can add a dab of glue between each card segment to make sure the ornament won’t lose its shape or come apart.
Assembling the Christmas Card Mobile
To make a mobile, you will need to string beads between each ornament.
Cut a piece of fishing line to the length that you want your mobile (ours is about two feet high), then add at least ten inches working room. Tie one end of the line to a large bead, tassel or wine charm (or whatever small object you want as the bottom end of your mobile). Thread the other end of the line with a needle. Begin adding beads. We added a large bead, four or five pearl beads, then another large bead. This last bead must be large enough for the card ornament to rest upon in the next step.
Next, thread the needle through the center hole that you made in one of the base circles. Assemble a single card ornament, following the directions above, but omit the hanger.
When the first ornament is complete, continue threading beads, beginning with a large bead that won’t slip through the middle of the completed ornament, then smaller beads, and another larger bead to support the next ornament.
Continue in this way until you’ve added as many ornaments and beads as you wish.
Thread the fishing line around the last bead, then shorten the line to an appropriate length and hang up your recycled Christmas card mobile.






Leave a Reply