Last updated on December 20th, 2020 at 10:24 pm
How to Make a Glittering Paper Star
Here’s a lovely paper star that you can make yourself from heavy paper, glue and glitter. Make one for the top of your tree … plus a few more to hang in your windows.
Craft Supplies:
- White heavy weight paper (40lb minimum)
- Clear drying craft glue
- White glitter
- Scissors or craft knife
- Printable Star Template
Project Instructions:
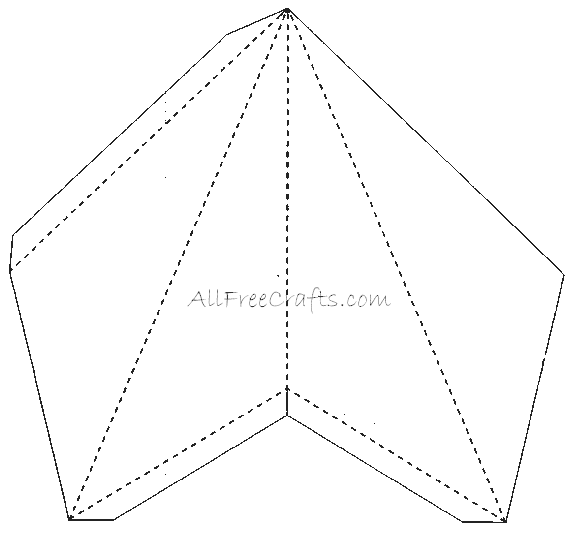
Trace the paper star templates (shown below) on heavy paper – you’ll need five, one for each point of the star. Cut out with scissors or a craft knife (use a self-healing cutting mat if you use a craft knife).
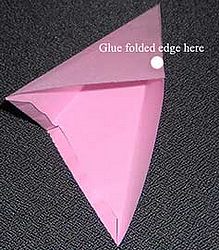
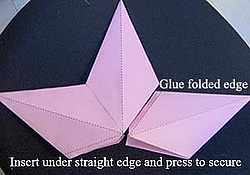
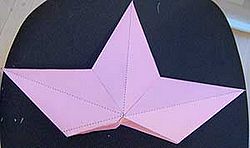
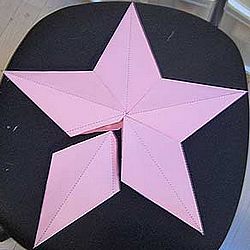
Fold your pattern pieces along all of the dotted lines. This will form one section of the star.
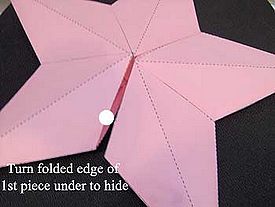
Each section is glued to each other.
See the step-by-step photos for details. These show the printed lines on the outside, but this is for instructional purposes only. When you make yours, have the pattern lines on the inside, where they will be invisible.
Once your star is completely assembled, set it aside to dry.
To add glitter:
Apply glue to the entire outside of the star. You may want to do this in sections, rather than all at once. Sprinkle glitter over entire glue area. Allow this to set for just a minute and then you’ll be able to handle it, but be careful not to damage what you have just glittered. If you are a little skeptical, wait until each section is dry before you continue.
Do not disturb your ornaments until they are dry. If you do, you risk causing them to warp slightly.
Free Printable Paper Star Template:
Copyright © 1999-2020 Susan Spatone All rights reserved. Published with permission from CraftAtHome.com




Leave a Reply