Last updated on December 5th, 2024 at 11:34 pm
How to Make Placemats from Old Cards
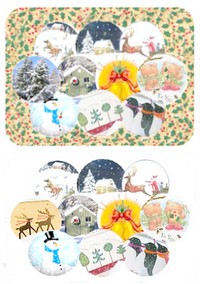
Recycle your Christmas cards, or other greeting cards, to make pretty placemats for your table.
This is one way to keep and display some of your prettiest, or most memorable, greeting cards. Next year, you can bring them out for holiday entertaining; perhaps your guests will even recognize their own cards in your selection!
Supplies:
- Christmas cards or greeting cards
- clear contact paper or self-adhesive plastic film
- drinking glass or cardboard circle template
- pencil
- scissors
- optional: wrapping paper or card stock as a backing; glue stick
Craft Project Instructions:
Assemble your collection of greeting cards and a circle template. You can make a circle template from cardboard, or use a drinking glass to trace around.
Begin tracing four to six inch circles around key areas of your greeting cards, centering the most pleasing designs.
Cut out the circles.
For the backing, cut a piece of clear contact paper, wrapping paper or card stock in a rectangle that is approximately 20 inches wide by 26 inches long (or trace around an old placemat).
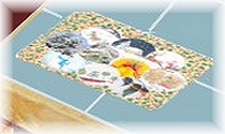
If using contact paper, peel away the backing and lay it on the table, sticky side up. If the paper curls up at the sides, find something to weigh it down at the corners while you proceed with the next steps.
Arrange the greeting card circles in a trial run on the table. You can use a layout like the one shown, with three circles in the top row, then four circles in the center row, and a bottom row of three more circles, with the circles overlapping so there are no spaces between them.
You could also try a pyramid (like the triangle shape of a Christmas tree), or maybe experiment with a wreath design.
Once you have a design that you like, begin placing the greeting card circles on the backing sheet. If you’re using wrapping paper or card stock, swipe a glue stick across the back of each circle, just to hold it still until the top contact paper is in place.
Cut a piece of contact paper the same size as your backing.

Peel away the backing paper of the contact sheet and carefully place it over your card design, aligning the edges as well as you can, and smoothing out any bubbles.
Trim the placemat all around, leaving about 1/2 inch to one inch of space around the card circles. You can keep the corners square, or place your circle template close to each corner, tracing around the upper section of it to round off the corners.
Variations:
Cut the cards into different shapes – triangles, or free-form shapes, instead of circles.
To make a reversible placemat, glue two identical shapes together, with right sides out, so a design can be seen on either side of the placemat.
Write the year of construction on the placemat somewhere, to create a dated archive of your favorite card collections.
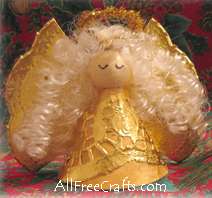
Also see: How to make Christmas Card Angels for another way to reuse and preserve old Christmas cards.


Leave a Reply