Last updated on December 29th, 2024 at 12:06 am
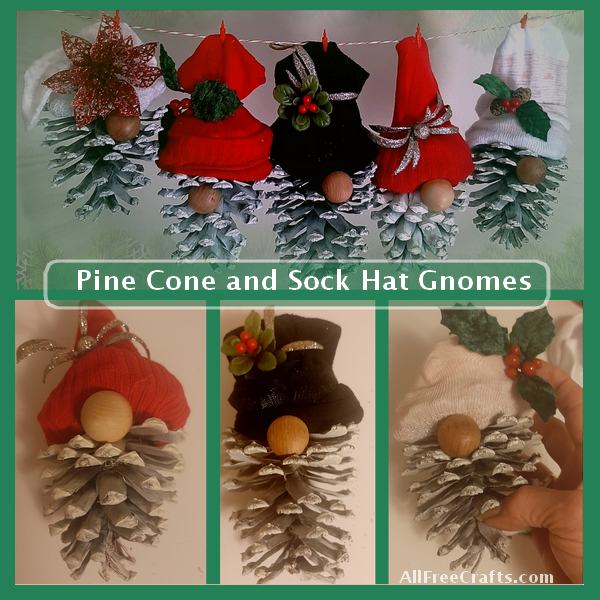
Looking for a quick and easy way to make Christmas gnomes? Try making these adorable pine cone and sock hat gnomes with three basic items: pine cones, a wooden ball and a child’s sock.
Simple as they are, I love these guys. Best of all, my grandkids love them too. Apparently, their names are Pointer, Holly, Smoke, Spider and Knobby. Don’t ask because I don’t know why. It’s a kid thing. Smile.
This is so easy, you probably won’t need to hear from me again. Children could make these just by following the pictures. But I will tell you what I did in each step. It won’t take long.
Let’s Make a Pine Cone Gnome Family
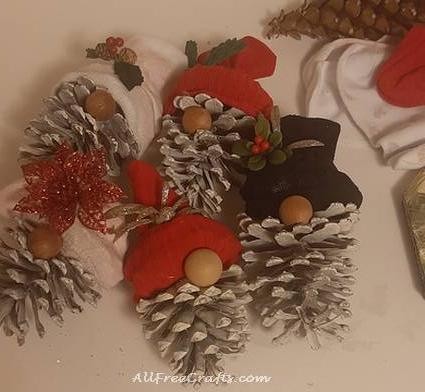
What You Will Need:
- large pine cones with open scales
- one wooden bead for each pine cone and sock hat gnome
- one child’s sock or women’s anklet sock per gnome
Optional:
- spray paint – white or gold
- assorted small Christmas embellishments
- hot glue gun and glue sticks or strong craft glue
- small hair elastics or rubber band
- ornament hangers
Project Instructions:
STEP ONE:
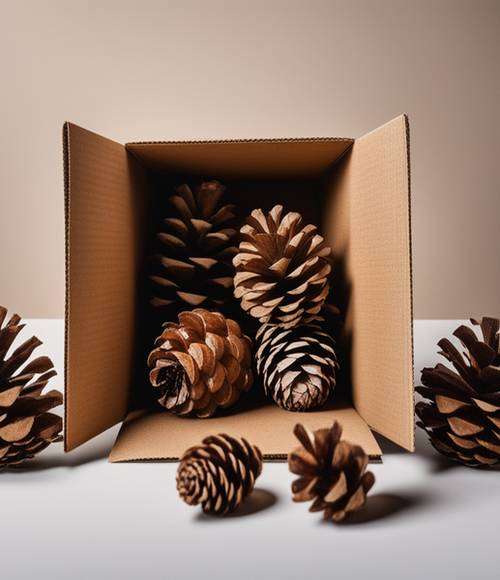
Gather your pine cones. I used large pine cones with lots of spaces between scales. This lets you easily insert the wooden ball nose. It also gives the sock hat lots of pine cone “petals” at the top for clinging power.
If spray painting the pine cones, place a few at a time into a cardboard box. Spray according to the manufacturer’s directions, turning the pine cones between sprays as needed for the desired coverage.
You could also selectfully hand paint some petals, perhaps to represent the gnome’s beard. Or add glitter, using either acrylic paint or glitter paint.
STEP TWO
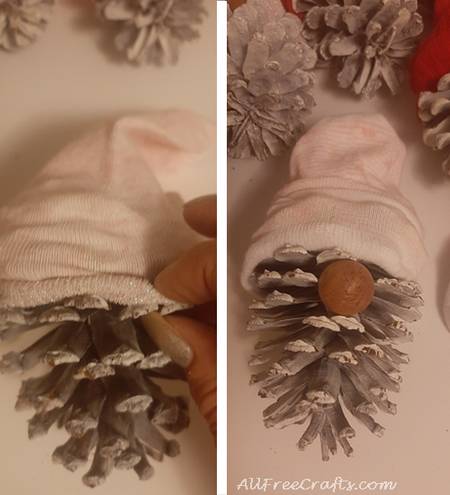
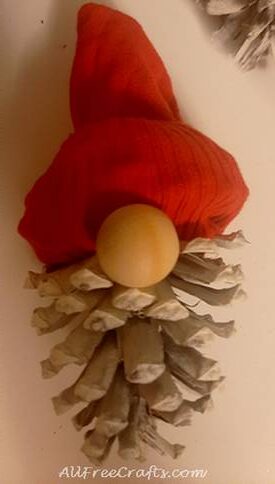
Start fitting the gnome’s sock hat. Take a child’s sock, or a small women’s anklet sock, and play around with it and a pine cone.
Ease the sock over the bottom layers of the pine cone scales and see how it fits and what it looks like. It should fit securely without needing any glue.
You can roll up the edge of the sock to make a doubled-up hat brim. Or you can let the elasticated sock edge cling all around a certain layer of pine cone scales.
STEP THREE
I read somewhere that gnomes cover their eyes because they live in burrows and their eyes are sensitive to sunlight.
I don’t know if that’s true or not, but my pine cone and sock hat gnomes have their hats pulled way down over their eyes. They will lead you by the nose!
Position the gnome’s wooden bead nose directly below the hat. Make sure it is centered in the pine cone then push it down between one layer of pine cone scales and the next layer below.
This press fit may hold the nose in place all by itself. But you’ll want to add a blob of hot glue or strong craft glue behind the bead to make certain it’s secure.
STEP FOUR
Assembly of your pine cone and sock hat gnome is now complete. However, the fun isn’t over, because here’s where you adjust hat styles and add embellishments.
Each one of the five gnomes shown here has an individual flair, thanks to their stylish sock hats.
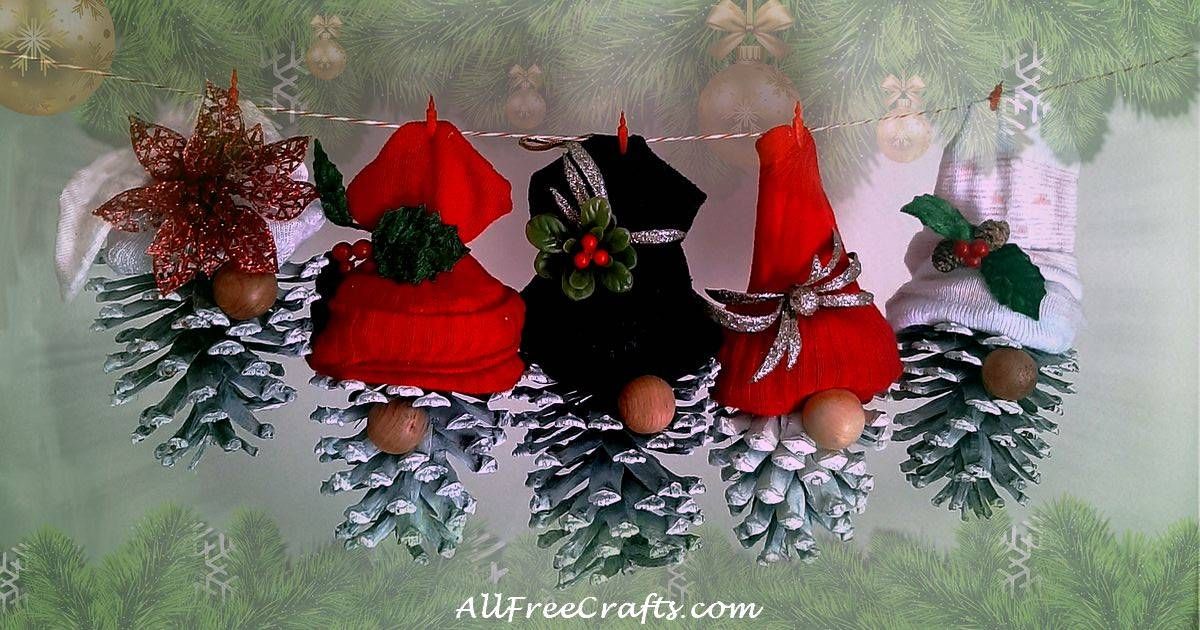
I used a simple rubber band or hair elastic to cinch some of the sock hats. This creates an ideal center spot for adding holly, or a twinkling Christmas bauble, using thin wire, hot glue, or strong craft glue. You can also get the sock hat to flop to one side using an elastic band.

Fashion each of the sock hats into different shapes and glue in place. Just roll or fold the sock fabric into a tall, pointy triangle hat, for a traditional gnome look, go for a beanie, or try a long tail hat with a tiny pompom or bell on the end.
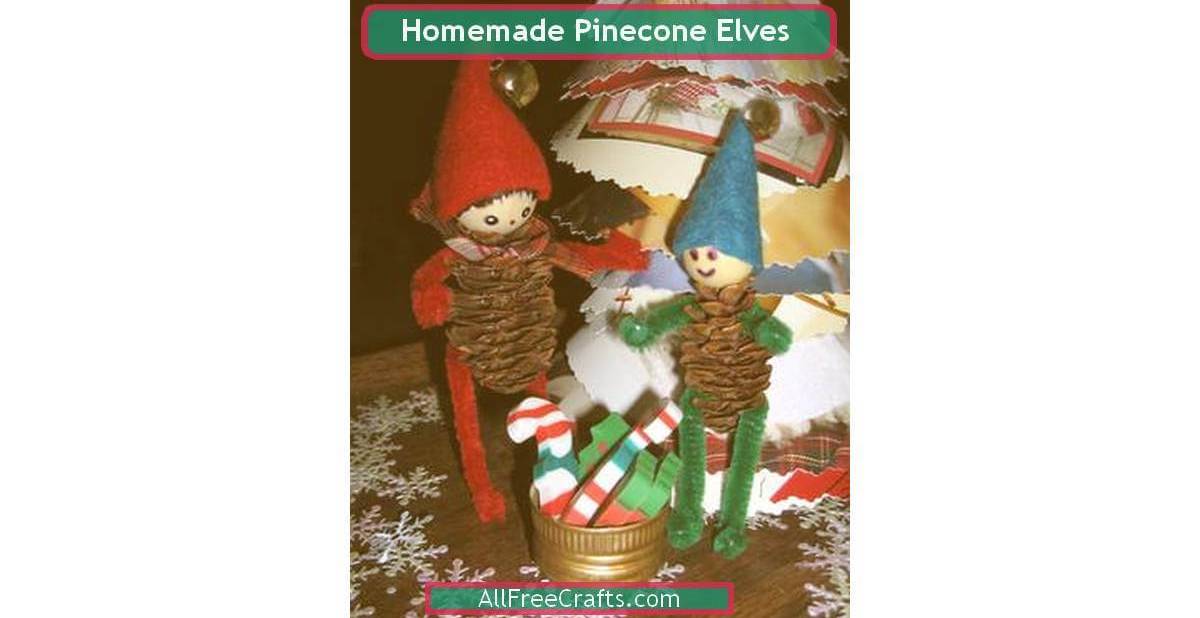
To use up your tiny pine cones, make a lovely Pine Cone Kissing Ball or a family of Pine Cone Elves.
If you’re curious about what kind of pine cones you are using, or to learn the different characteristics of pine cones, as well as how to make a pine cone bird feeder, see: Pine Cones are Not Fruit but They Are Prehistoric!
Happy Christmas!
Leave a Reply