Last updated on September 22nd, 2022 at 01:19 am
by Jane Lake
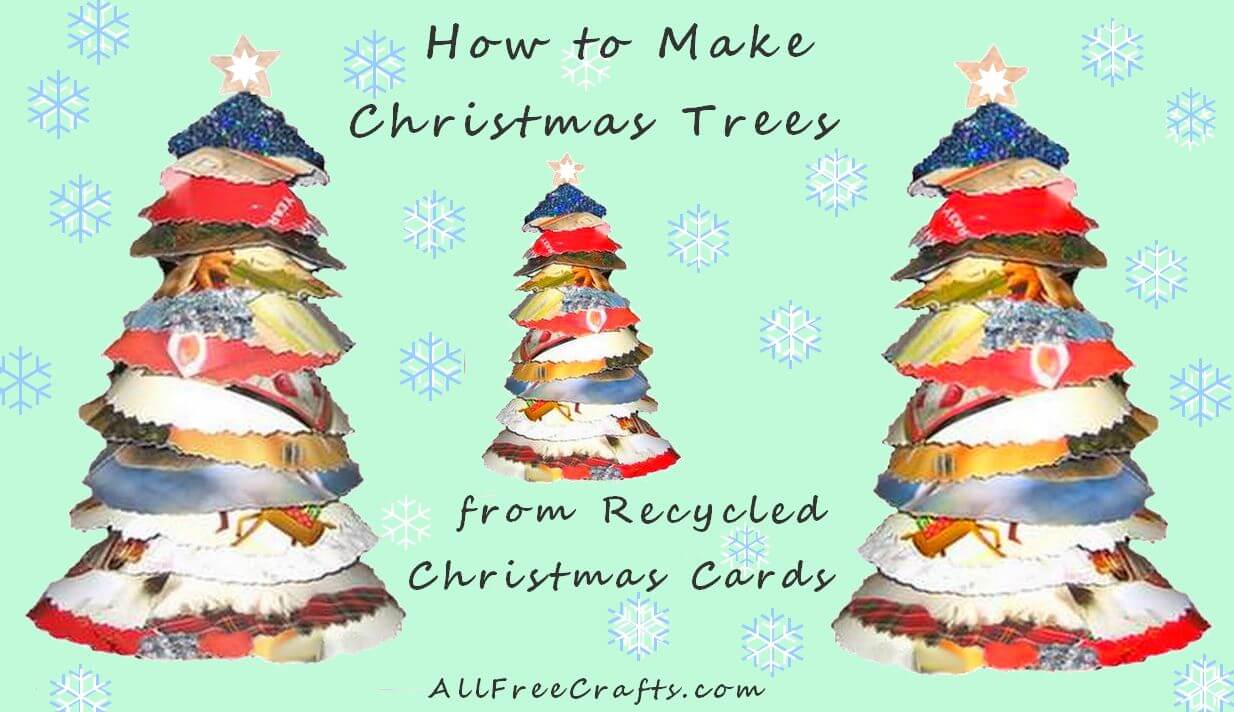
Here’s how to make a recycled Christmas card tree in about an hour.
This project is rated easy because all you do is cut circles from used Christmas cards to make each segment of the tree then thread them onto a wooden dowel or knitting needle.
You Will Need:
- Assorted old Christmas cards
- styrofoam ball
- decorative edge scissors or pinking shears
- compass to draw circles, or circular objects of different sizes to trace around, such as round plastic lids
- pencil
- knitting needle or thin dowel stick
- knife, preferably serrated
- stapler and staples, or scotch tape
- optional: rubber bands, glue and glitter, wooden star or another little ornament for the top of the tree
Project Instructions:
MAKE THE BASE
Cut a styrofoam ball in half with a serrated knife. Set one half aside. Use the other half-moon shape as the base for your Christmas tree.
I had a plastic knitting needle that had lost its mate so I used that for the trunk of my tree. If you are also doing this, simply insert the point of the knitting needle into the middle of the styrofoam ball, going from the flat side to the curved side. Push the knitting needle all the way through the ball until the end is buried inside. You should now be able to set the tree base flat on the table, with the knitting needle sticking straight up.
Alternatively, if you are using dowel, make an appropriately sized hole in the middle of the curved edge of the ball, apply glue to the end of the dowel, then push the dowel firmly into the hole.
ASSEMBLE THE CHRISTMAS CARD TREE
Trace and cut circles of various sizes from your Christmas cards.
I used three or four of each size, with the largest circles being traced around a margarine tub lid, the middle-sized circles traced around a drinking glass, with the smaller ones just traced around the spare half of the styrofoam ball.

You can cut out the circles with ordinary scissors, but those with a decorative edge, or pinking shears, add a nice texture to the edges.
From each circle cut a pie-shaped wedge, as shown here. The wedge should extend to the centre of the circle, but you can also experiment a little, varying the angle of the pie-shape from narrow to wider to make each cone slightly different in size and shape.

Overlap the edges of the pie-shaped wedge to form the circle into a cone shape. Staple or tape the overlap from the back. At this point, if you wish, apply a little glue and glitter to the edges of some, or all, of the cone shapes.
There may already be a little hole left in the centre of each cone when you overlap the cut-out wedge. If not, just make a small hole by pushing the tip of the scissors, or the point of the pencil, through the centre top of the cone. Do not make the hole too big or the cone will slide around too much.
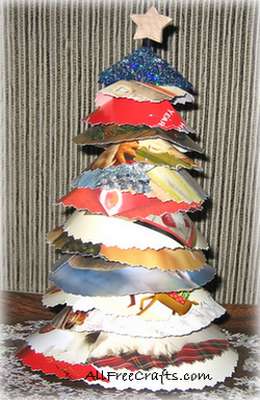
Beginning with the large circles, start stacking the Christmas card cones onto the base of the tree.
I found that they held up quite well and I could position each cone above the one below it fairly easily. However, if you have trouble keeping the cones separated, wrap a small rubber band around the knitting needle or dowel, just above each cone.
Keep building the tree until you get close to the top.
You can make one last cone without a hole and glue this to the top of the tree, or add another embellishment, such a wooden star to trim the top and finish your recycled Christmas card tree.
Variations:
If you only have a few cards to recycle, check out this similar Christmas card tree from Better Homes and Gardens.
If you’ve run out of left-over cards, but would still like to try this craft, consider making a Recycled Book Christmas Tree from the icraftwithlove blog.
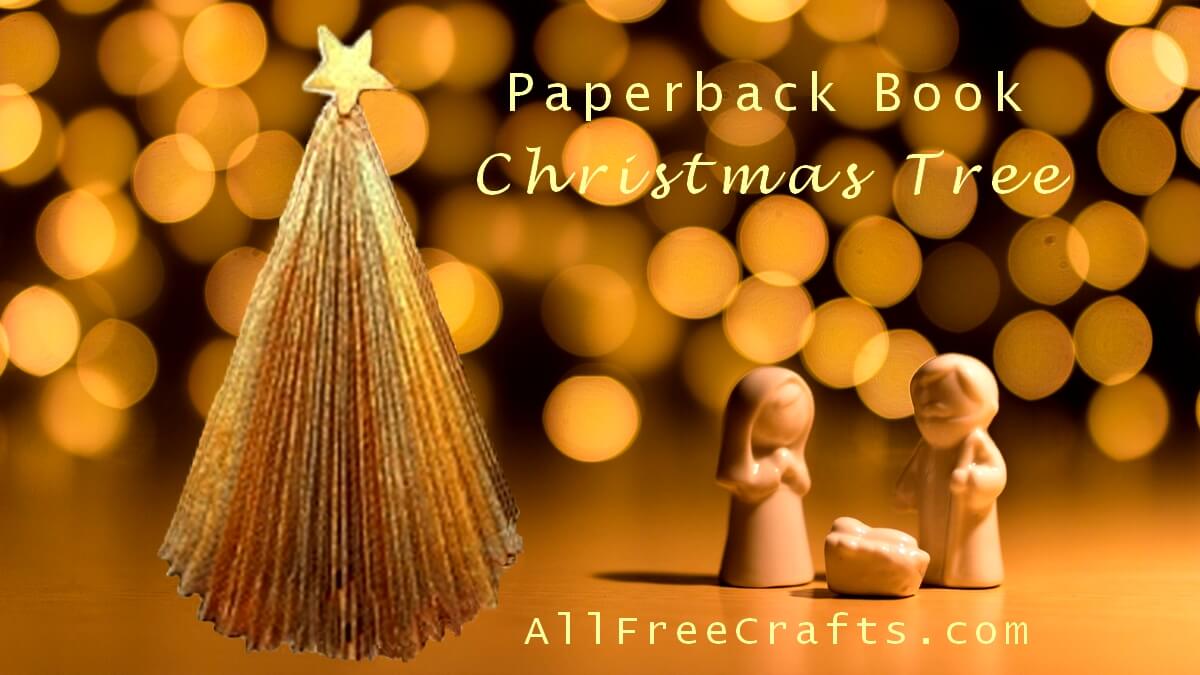
We also have a Christmas Tree made from a Recycled Book, shown below, which is easily made by repeatedly folding the pages of a paperback book.




Leave a Reply