Last updated on December 6th, 2024 at 12:02 am
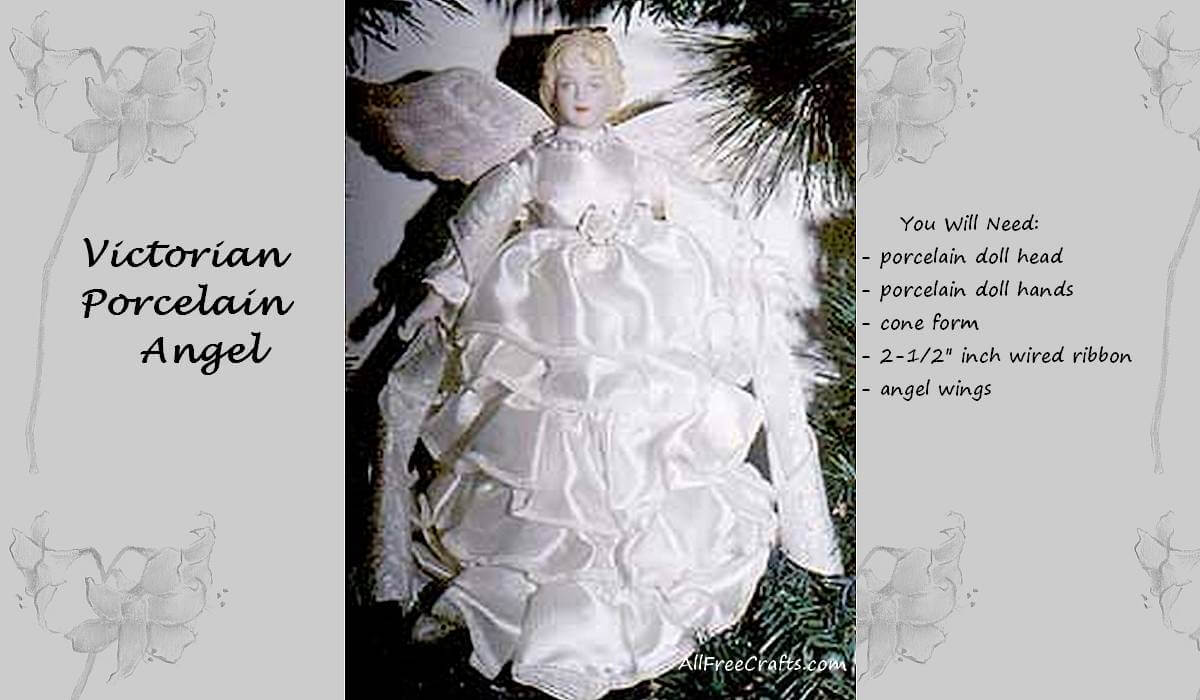
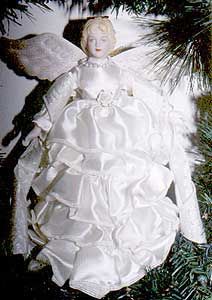
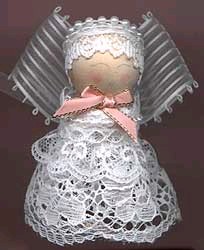
Turn a cone form, and a porcelain doll head and hands, into a beautiful Victorian angel, dressed in sumptuous wire-edged ribbon.
Craft Supplies
5 yards of 2½ inch wire ribbon
plastic or cardboard cone form
Angel wings
Porcelain doll head and hands
Hot glue and sticks
Small ribbon
Embellishments (gold ring for halo, ribbons, pearls, etc)
Craft Project Instructions:
Begin by cutting a one yard length of ribbon for each layer, in mine there are five layers.You need to gather the ribbon by pulling one end of the wire through the ribbon, leaving the other end of the wire secured at one end. Your gathered edge will be along one side of the ribbon only and this is the side that will be attached to your cone.
Beginning at the bottom of your cone, glue one strand of gathered ribbon (gathered side) to the cone, leaving a little of the ribbon hanging over the bottom base. Repeat this process up the entire cone until you have completed five layers. Each layer will be placed above the last layer, just high enough to cover the cone underneath. You should have about 2½ inches of uncovered cone at the top when you are done.
Place a little glue on your doll head and fit securely on the top of the cone. Wrap a piece of ribbon around the top of the cone to form a bodice and glue at the back to close, cut away any excess ribbon.
To make the arms, cut a piece of wire ribbon to the desired length of the arm. Fold the unfinished ends of the ribbon under and glue the right sides of your ribbon together at the wire edge, you’ll have a tube now that forms the arm/sleeve. Glue your hands inside the sleeves and glue the arms to the bodice.
Now wrap a little ribbon around the waist area, add a little string of pearls around the neck. Glue a halo to the top of the doll head, glue wings to the back of the form and embellish with ribbons, etc.
This doll can be used a tree topper or a stand alone angel.
Copyright © 1999-2024 Susan Spatone All rights reserved.

Leave a Reply