Last updated on February 9th, 2025 at 09:51 pm
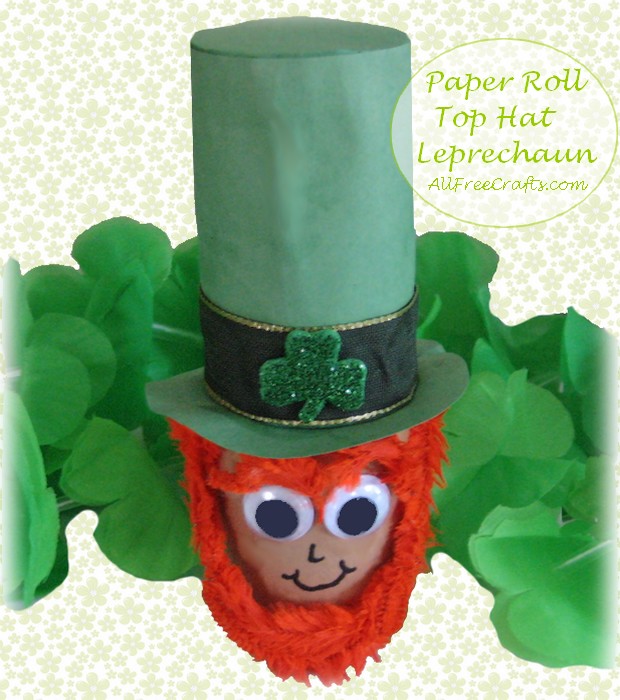
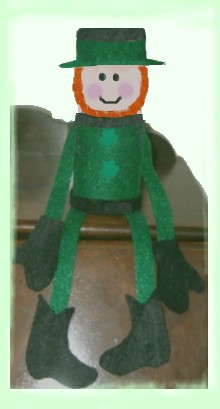
Every leprechaun needs a dapper hat – and this easy-to-make paper roll leprechaun stands high above the rest with his tall “topper.” For winter decorating in the same tall style: Tall and Skinny Plunger Snowman. He towers above the rest!
You Will Need:
» toilet roll tube
» construction paper – skin tone and green
» pair of plastic eyes
» black marker
» two orange bumpy chenille stems
» tacky glue or white craft glue
» small length of 3/4″ wide ribbon or a 3/4″ wide strip of black construction paper
» one small glitter shamrock
» Tools: pencil, ruler, scissors, kebab stick or thin dowel.
Instructions:
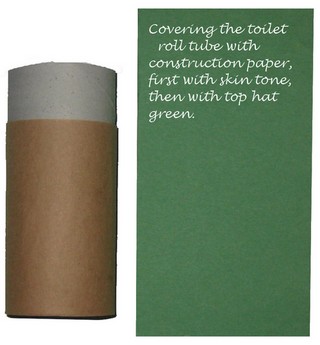
The first step in this St. Patrick’s Day project is to cover the bottom section of a toilet paper roll with skin tone construction paper.
Cut a piece of skin tone construction paper to the desired height (usually about three inches), so the top is at least one inch from the end of the toilet paper roll. Test-fit by rolling the paper around the roll to find the appropriate length around and add a half inch overlap; mark and cut to size. Cut a piece of green construction paper to the same size and set aside.
Apply tacky glue to the back of the skin tone paper then smooth it over the toilet paper roll, using your fingers to gently position and press until the paper settles in place.
Apply tacky glue to the uncovered end of the cardboard tube, then along one side of the overlapping edge of green construction paper. Wrap the paper around the top of the tube, overlapping the top edge of the skin tone paper a little bit, and matching the seams at the back. Use your fingers to press the glued overlap to its matching edge.
Finish the Top Hat:
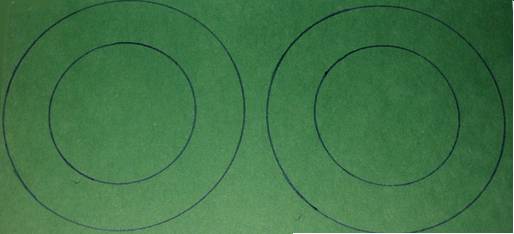
To finish the Top Hat, you will need two paper circles – a donut shape to make the hat brim and a circle to glue inside the top of the leprechaun hat.
To do this, draw four identical circles on a piece of green construction paper.
Draw the first two, smaller circles, at least two inches apart, by tracing around the bottom of the toilet paper roll.
Now find a jar top, drinking glass, or another round object to trace around; something with a diameter that is about one inch bigger than the small circles. Center this larger circle over one of the small circles and trace around it. Repeat for the second circle, so you end up with two donut shapes, as shown above.
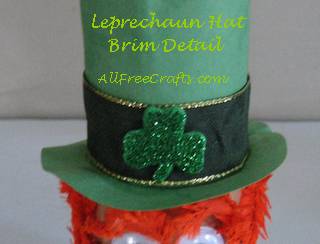
Cut around both of the “donuts”. Take one of these, and cut out the smaller circle in the middle. This is the hat brim. Apply a line of tacky glue around the bottom of the hat. Slide the brim over the tall sides of the hat, stopping at the bottom of the green construction paper.
If the brim is too small to fit without tearing, make the inner circle just a tiny bit bigger, but don’t go overboard, because the brim must fit snugly to look right and stay glued in place.
Now you’ll make the top of the top hat.
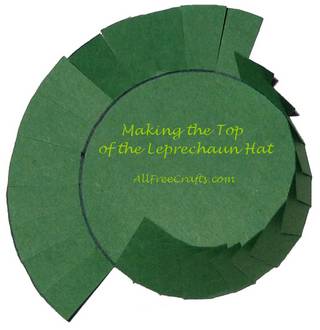
Take the second “donut” and make multiple scissor cuts all the way around, going from the outer circle down to the inner circle, as shown here.
Bend down all of the cut tabs. Test fit by placing this piece inside the top of the top hat. Play a little bit with the tabs so they end up fitting without pushing too far out or being pushed too far in. Basically, the tabs should slide nicely against the sides of the top hat.
Once this is more or less what is happening, apply a generous line of tacky glue around the inside rim of the hat. Now slide the top into place. Turn the leprechaun body upside down so you can see the tabs inside. Slide a kebab stick or thin dowel into the tube and press all the tabs against the glue.
Turn the leprechaun body right side up and use the kebab stick and your fingers to get a snug fitting all the way around the top.
Leprechaun Face
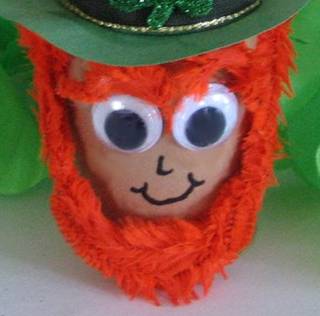
Apply a little glue to a pair of plastic, “goggle” eyes and apply to the face area.
Cut two small pieces of orange chenille stem and bend each one into a slight upside down “u” eyebrow shape. Apply tacky glue to the back of one eyebrow piece and press it into place above one of the eyes.
Repeat with the second eyebrow.
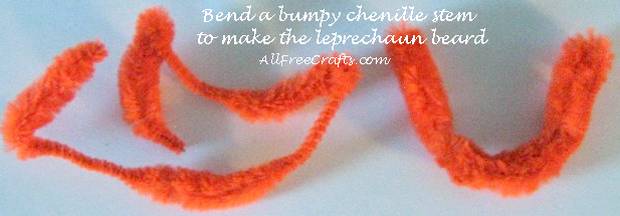
Form the beard from one bumpy orange chenille stem. Fold the stem in half then fold the two outside bumps inwards. There was one more thin strip on mine, so I folded it behind one of the bumps. Once you have eliminated the thin areas, bend the stem into a “U” shaped beard.
Press this shape onto the paper tube until it begins and ends just below the hat brim and connects uniformly in a beard shape, all along its length, against the cardboard.
Apply tacky glue to the back of the chenille stem beard and then press it back into place.
Once the beard is secure, use a black marker to draw a simple nose and mouth.
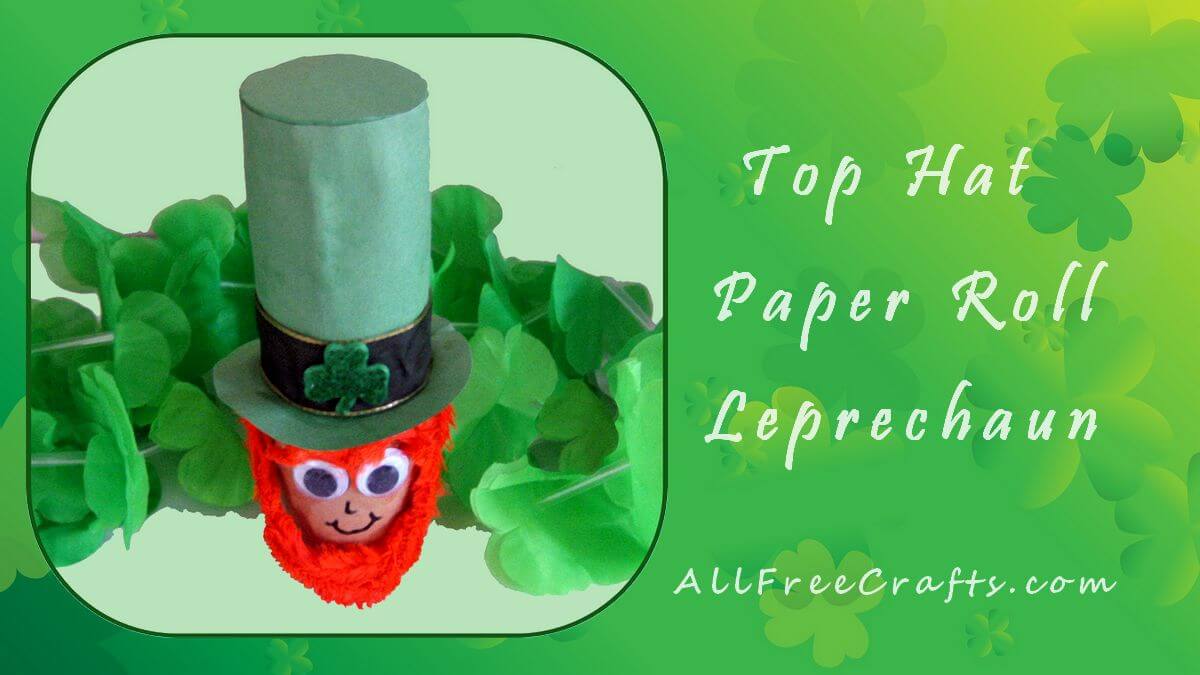
Finally, glue a piece of ribbon around the hat, just above the brim. Add a self-adhesive glitter shamrock to the center of the ribbon.
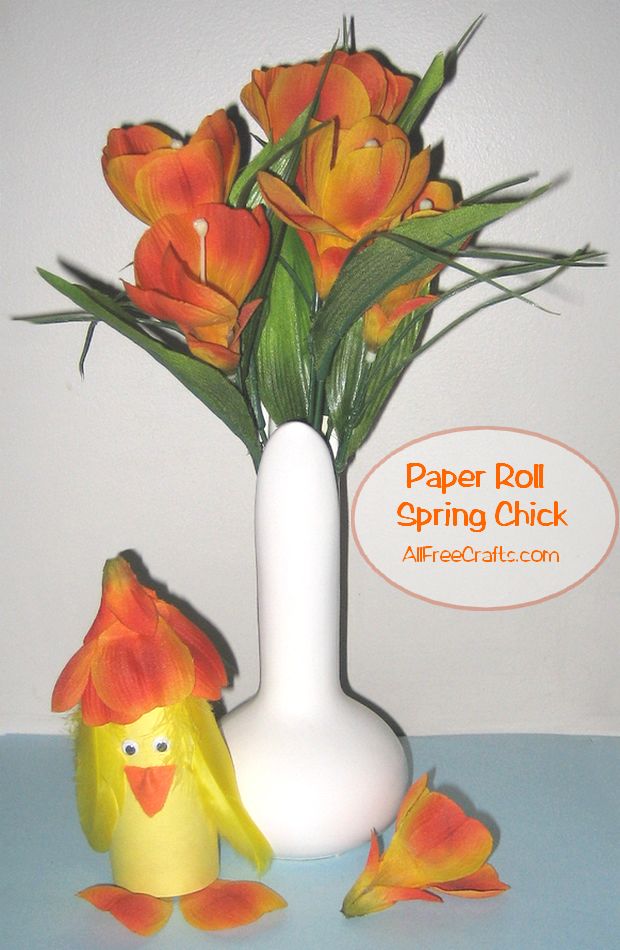
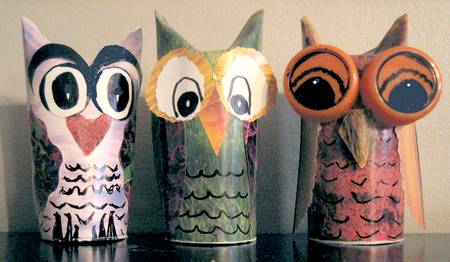
For Easter decorating using paper rolls, please see: Paper Roll Spring Chick, so jazzy with her two yellow feather wings and silk tulip hat! Or check out these colourful, large-eyed Paper Roll Owls.
Leave a Reply