Last updated on March 5th, 2016 at 11:58 pm
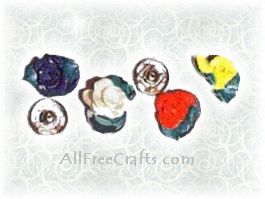
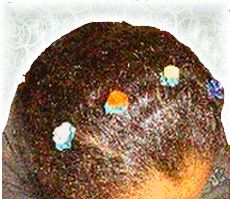
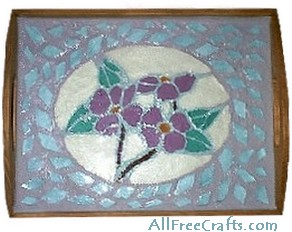
Here’s how to make your own miniature clay roses, which can be used to decorate all kinds of things, from picture frames  and magnets, to the hair snaps craft project featured on this page, and the practical Clay Candle Wax Catcher shown below.
Supplies:
- large metal sewing snaps (shown in the photo above)
- Any kind of oven baked clay (we used Sculpey)
1. Take a tiny piece of clay and roll it into a ball, then press flat with your thumb and pointer finger and roll into a cone shape. This is the center of your rose. Take another tiny piece of clay, roll into a ball, flatten, then place it in front of the center piece, where the two sides meet at the small end of the cone. This is the first rose petal.
2. Continue making tiny balls, flattening them, and fitting them around the cone center, overlapping the ends of each petal a little as you add the next one. Keep adding petals until you have the desired amount of fullness. You will notice that as you add each petal, rolling it into the back of your rose, some excess clay builds up at the bottom. Remove this and set aside.
3. To make a leaf, take a tiny piece of green clay, roll into a ball and flatten, then roll into the bottom of the rose. Now pinch off any excess clay at the bottom so that the back of your flower and leaves is flat. You can curl the leaves back a little to look more realistic.
4. Open a metal sewing snap and set aside the nubbed end.
5. Take the excess clay that you set aside and roll into a ball. It will be variegated with green and the color of your rose. Press the ball flat on a work surface.
6. Take the flat end of the sewing snap and press it into the flattened ball of clay. Shape the clay around the snap. Remove any excess clay, including any clay that may have worked through the holes in the snap toward the back.
7. Place the clay rose onto the sewing snap filled with clay. Use a toothpick or something similar to press the bottom of the rose into the clay-filled snap until you are confident it is firmly anchored into place. Bake the hairsnap rose as directed on the package of clay.
Note: To use the hairsnaps, simply snap the two ends together trapping a few strands of hair between the snaps. I made these for my daughter and she loved them – now her friends want me to make some for them too. Enjoy!


Leave a Reply