Last updated on December 10th, 2022 at 03:20 am
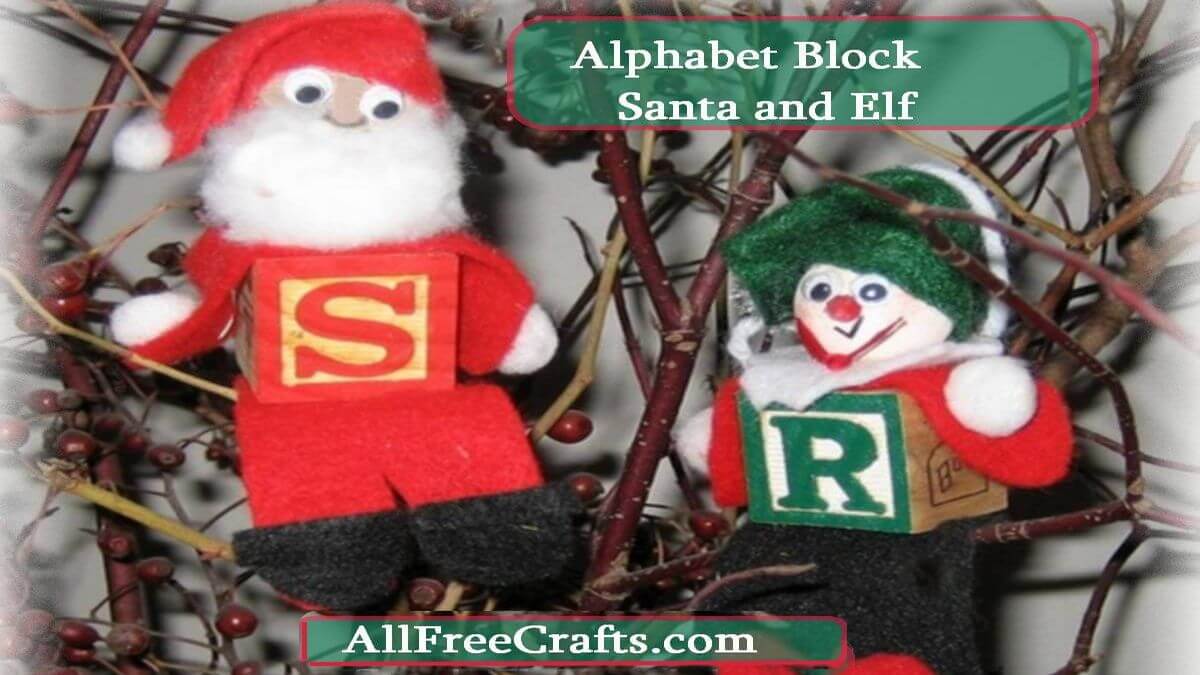
How to Turn Alphabet Blocks into Santa and Elves
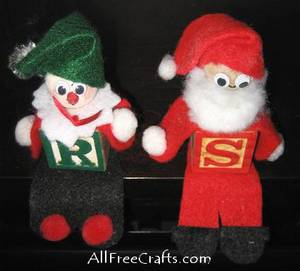
Make a child’s alphabet blocks into an adorable elf or Santa; either would love to sit in your Christmas tree or watch the holiday festivities from your bookshelf.
If you cut out the felt pattern pieces ahead of time, even younger children can enjoy gluing the elf parts to the alphabet blocks.
AllFreeCrafts is reader supported! Many supplies are found at thrift stores so try that first! However, if you buy from an affiliate link on this site, I earn a commission at no extra cost to you. As an Amazon associate, I earn from qualifying purchases. This has kept AllFreeCrafts.com online since 2002. Thank you!
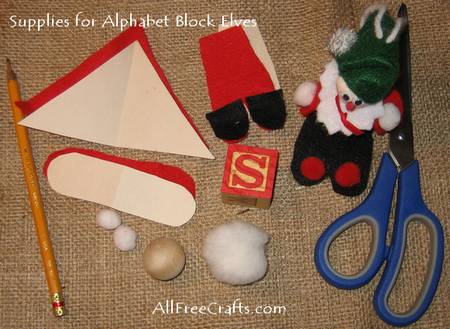
Craft Supplies
- alphabet blocks (often found in thrift stores so try there first)
- Free printable elf parts pattern – legs, arms, hat
- » 3/4 inch wooden ball for each elf
- » scraps of red, black, white and green felt
- » one 2 inch white pompom for Santa’s beard
- » three 1/2 inch pompoms for the hands and hat on each elf
- » two red 1/2 inch pompoms for elf feet
- » pair of small plastic eyes for each elf
- » flesh colored acrylic paint
- » a fine black or red permanent marker
- » tacky glue or hot glue gun and glue sticks (adults only)
Tools:
You will also need a computer and printer, a pencil, and a pair of scissors.
Project Instructions:
1) Print out the pattern and cut out the three pieces labelled Arms, Legs and Hat. Place each of the pattern pieces on felt and cut them out as follows:
a. Cut an arm piece from red felt for each elf.
b. Cut legs and a hat from red felt for Santa. Cut legs and a hat from black or green felt for an elf.
c. To make Santa’s boots, cut two pieces of black felt to fit on the ends of the leg pattern, then glue in place.
2) For Santa, put a generous coating of glue on the bottom of the red and white alphabet block and set it firmly onto the wide end of the red leg piece. For the elf, repeat these steps with the green and white alphabet block and black or green leg piece.
3. Glue two small white pompoms to the two ends of an arm piece. Apply a good coat of glue on top of an alphabet block then center the arm piece on top and press it down until the glue holds it in place.
4. For the elf, cut a small white circle of felt as a collar. You could cut around the edge of the collar with pinking shears if you like to give a frilly effect. Glue the collar in place on top of the arms, as shown in the photo at the top of the page.
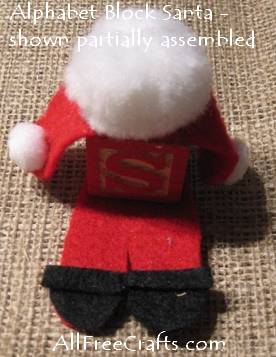
5. For Santa, flatten a two inch white pompom with your fingers and glue it on top of the arms, as shown in the photo (above, right) of an alphabet block Santa, partially assembled.
6. Paint the wooden balls in flesh colored acrylic paint. Once the paint is dry, glue on a pair of plastic, movable eyes. Below the eyes, draw a simple round nose and a small smiling mouth with permanent marker.
7. Avoiding the face area, hold the ball upright and apply glue to the top and around the back. Take one corner of the hat triangle and press it into the glue at the back. Carefully smooth the bottom edge of the triangle over the top of the face and around to the back, overlapping the first glued down corner. Hold it in place until the glue sets enough to hold it for you. Take the part of the hat that is sticking up and fold it over to one side. Apply glue to the underside of this fold and press it down until the glue sticks. Glue a small white pompom to the end of the hat.
8. Apply glue to the bottom of the Santa head and press it into the beard pompom already glued on to the block. The pompom will usually not cover all of the face. If it doesn’t, cut a little of the pompom fibres from the back of the pompom, apply a line of glue to the bottom of Santa’s face, and press the fibres into the glue to finish Santa’s beard.
9. For the elf, just glue the head on top of the white collar.
10. Now the fun begins: sit your elves on the shelves or perch them on the Christmas tree. But don’t be surprised if they move around.
Mine keep popping up in the most surprising places. I’m not sure if my daughter helped them get into the bathroom medicine cabinet, but there they were when I went to brush my teeth one morning.
Similar Free Elf Craft Projects
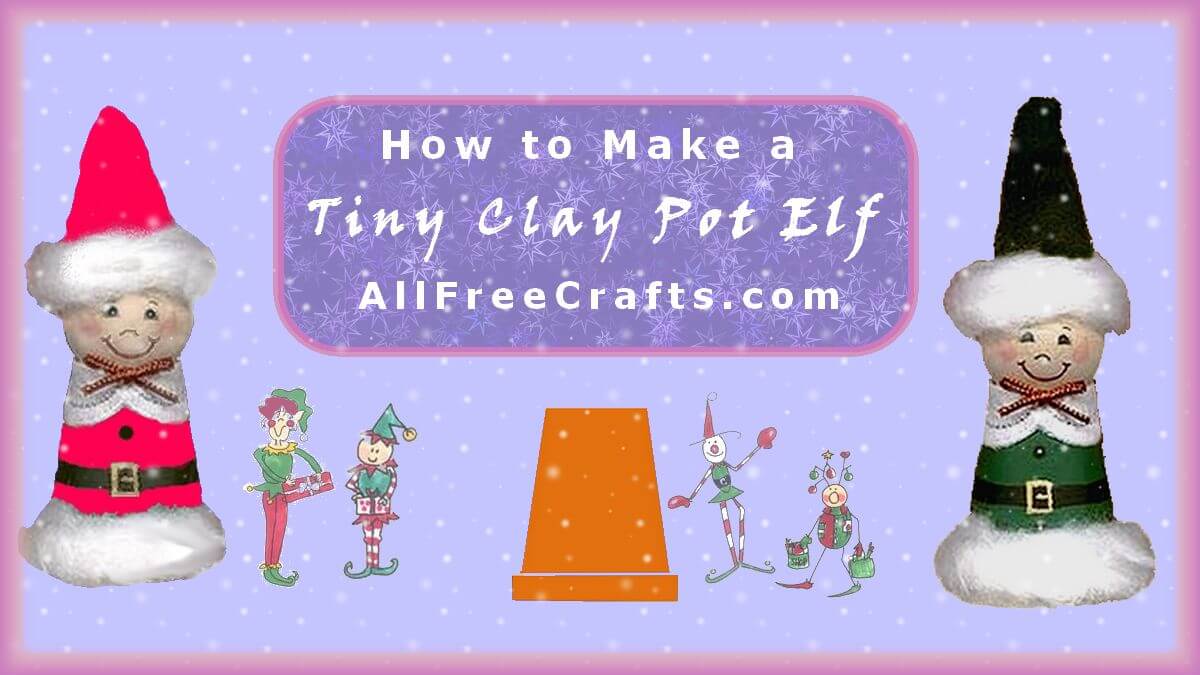
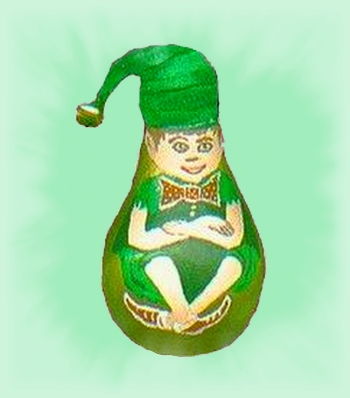
On this site, you’ll probably love both our Recycled Light Bulf Elf and our Mini Clay Pot Elfs!
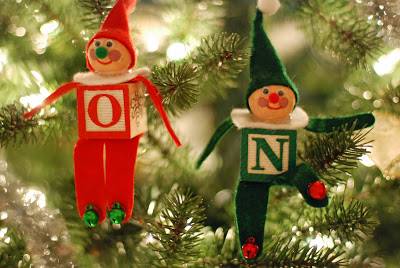
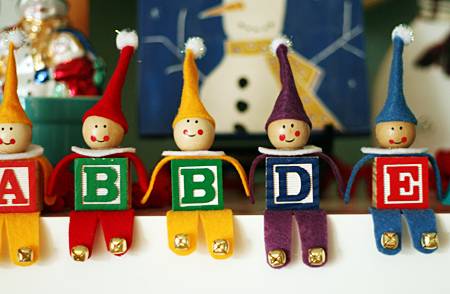
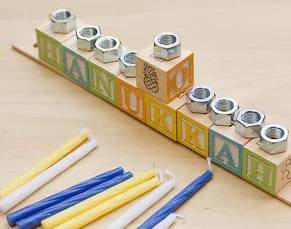
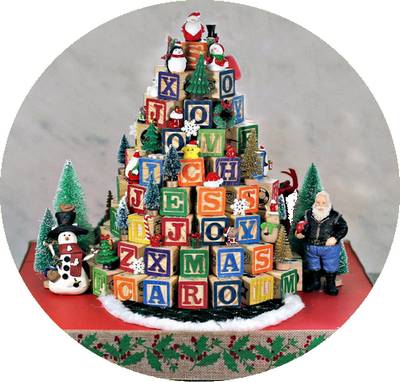
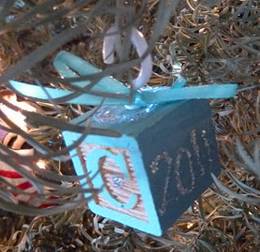
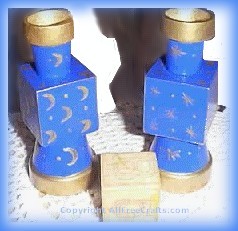
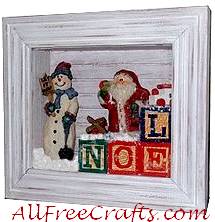
For a similar take on this vintage craft, check out these alphabet block cuties on other sites to make Christmas elves, a children’s menorah, stacked block Christmas tree and a glittery alphabet block ornament. A curated collection – if the fact that I like them all counts as “curated”!
Leave a Reply