Last updated on December 15th, 2021 at 12:04 am
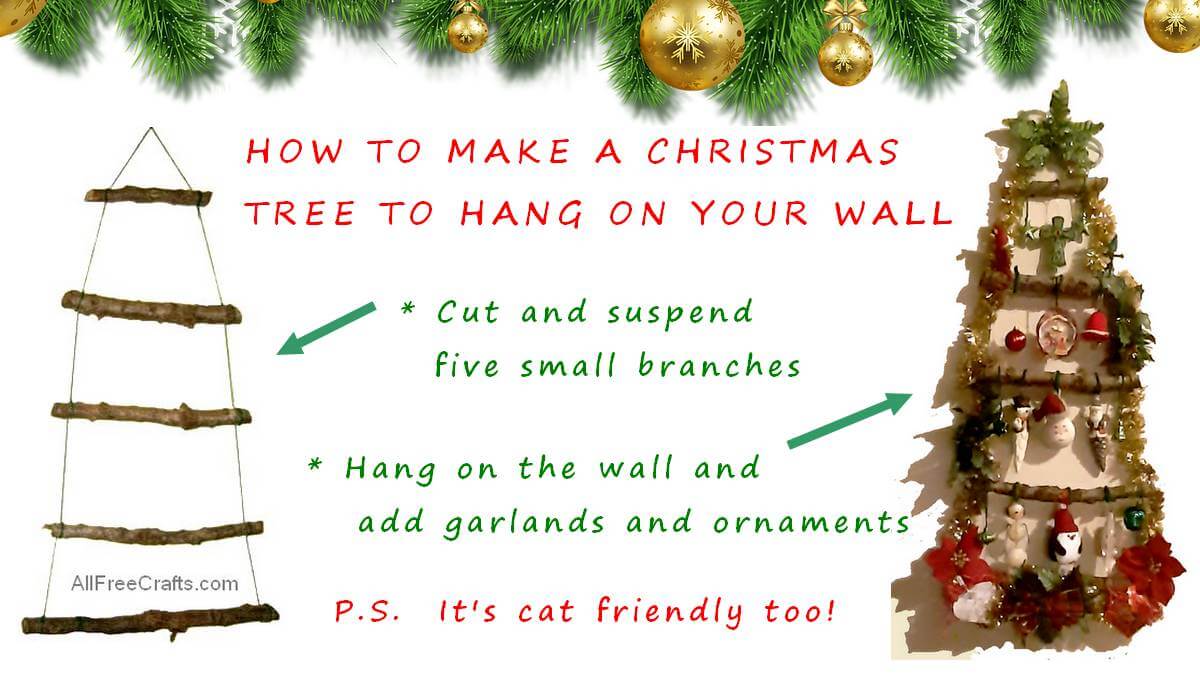
This homemade Christmas wall tree, made from natural tree branches and yarn, fits where traditional trees cannot go and holds 20 or more hanging ornaments.
I spend most waking hours in a small home office which holds my computer desk, books, documents, and a small dog bed so my sheltie is comfortable while she keeps me company.
There’s just no room for a Christmas tree. Or so I thought until, a few years ago, I saw a space-saving wall tree in the decor section of the Canadian Tire web site.
So simple and appealing that when I came home, I snagged some branches from the kindling bin of our fireplace and made a Christmas Wall Tree for my office.
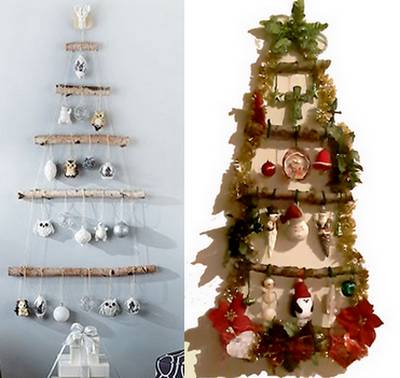
Here you can see the Canadian Tire version on the left and my homemade version, on the right, hanging on the wall for the fourth year in a row. The only thing I bought was the green ivy thingy bob at the top (on sale at Canadian Tire) so the cost was next to nothing.
Your version might bring Christmas cheer to a narrow hallway, brighten a bathroom, fill a child’s bedroom with favorite ornaments, or become the focal point of a living room shared with cats. So why not make one along with me?
by Jane Lake
You’ll Need:
» Five tree branches, each 1 to 1½ inches diameter
» Green worsted weight yarn, string or twine
» Green chenille stems
» About 20 Christmas ornaments
» Tree topper ornament
» Three sprigs of artificial holly also nd berries
» Two silk poinsettias
» One red or tartan bow
» Optional: gold tinsel garland
» Tools: hacksaw or wood saw, measure; scissors
What You Do:
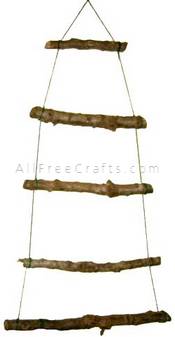
Take your branches out to the workshop or garage and cut them to size. The top branch should be about eight inches long with each lower branch about three or four inches longer than the one above it.
Set the branches down on a table and arrange them as you like best then decide how long you want each one and cut it to size. If some branches are a little thicker than others, use them at the bottom so the tree doesn’t look top heavy.
The most difficult part of this homemade project is tying each of the branches so they all lie straight while allowing a uniform gap between each level.
It’s not necessary to make each of the gaps the same depth. I had some six inch long ornaments so I allowed an 7½ inch gap between the third and fourth branches, while the gap between the last two branches is about 5½ inches which is plenty for the smaller ornaments there.
Design the tree around your ornament collection while maintaining a tall triangular shape.
Separate Ties
There are at least two ways of approaching the ties. The Canadian Tire project suggests tying string to the end of each branch, leaving a 10 inch tail to tie it to the branch below. This didn’t work very well for me and I ended up with crooked branches.
From the Top Down
What I did was cut a length of yarn about 12 feet long or roughly three times the height that I wanted my tree. I found the center point and tied it to the picture hook that I was using to hold the tree. From there, I suspended the first eight inch branch, tying the left hand piece of yarn to the left end of the branch and the right hand piece of yarn to the end of the right.
This gave the suspension some weight, and the following branches were easier to tie, even though I was working with rather long pieces of yarn, especially at the beginning. I took a photo so you could see my wall tree at this point: a nice triangle shape, but very bare.
Christmas Wall Tree – the Fun Begins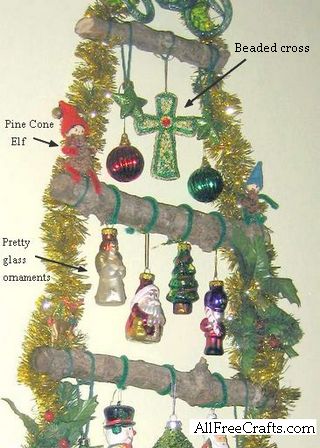
Hanging the ornaments on this tree was lots of fun. I could reach every part of it and see exactly how each ornament would look. Here’s a closeup of my tree-in-progress. I included some of my treasures – a beaded cross from my sister-in-law, pine cone elves that I made last year, and my collection of old-fashioned glass ornaments.
Top the tree with something eye-catching and dramatic, whether that’s an angel, a star or something like my green ivy thingywhatsit (for want of a better name).
I used a green chenille stem, cut in half, to hang most of the decorations. Just thread the end of the chenille stem through the loop on the ornament, then thread it behind the branch and twist the ends of the chenille stem together. You could also use string or invisible thread.
Leave the sides plain or wind a gold tinsel garland up one side and down the other, then embellish with a one or two holly and berry picks, and a couple of silk poinsettias at either side of the bottom branch.
Finally, fasten a little greenery and a tartan bow to the center of the bottom branch.
So there you go: Christmas warmth and good cheer in a place where there was none before. May all your days be just as merry and bright.





Leave a Reply