Last updated on June 16th, 2016 at 11:14 pm
Art Lesson: How to Draw a Frog in 12 Easy Steps
Here’s an easy art lesson that shows you how to draw a cute frog with step-by-step photos to follow along the way.
You Will Need:
- Paper
- Pencil, pen or marker
- Color of some kind, such as colored pencils, markers or paint
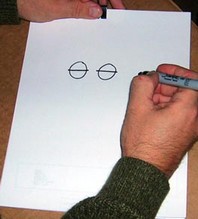
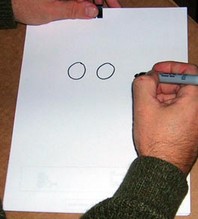
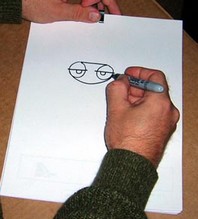
2 (right). Draw a horizontal line through each eye circle.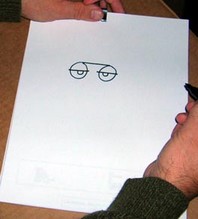
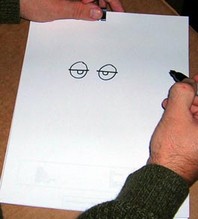
4 (right). Draw a line from the top of the left eye to the top of the right eye.
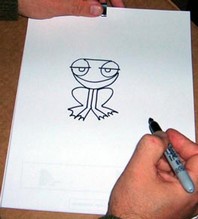
6 right). Draw a second curving line, going lower than the previous line, to form a lower jaw.
8 (right). Draw 3 vertical lines downward from the jaw line, about 3 inches long. These will be the front legs.
9 (right). Draw a half-heart shape downward from the jaw line, one shape on each side of the front legs. These will be the back legs.
 11. Connect these lines with wavy lines to form the webbed feet of your frog.
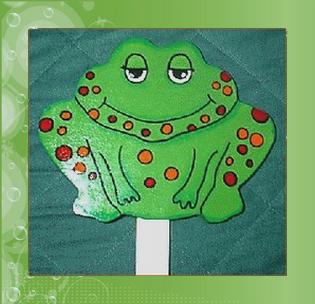
12 (right). Add any details you might think will personalize your frog.[clear]
Tips and Variations:
- A cheap, non-smudging sketching technique would be to use a light pencil crayon rather than a specialized pencil.
- Experiment with different pupil shapes and placements.
- Color the mouth red and pupils black, and the rest green, and add eyebrows off of the frog for a cartoon look.[clear]
 Made available by wikiHow.com under a Creative Commons Attribution-NonCommercial-NoDerivs 2.5 License. You can republish this craft project by following the license terms. To use the article images, you MUST upload them to your own web server. Do NOT link directly to images on this site.




Leave a Reply