Last updated on June 16th, 2016 at 11:17 pm
How to make braided shoelaces from embroidery floss.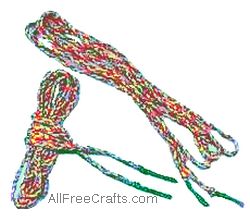
by Jane Lake
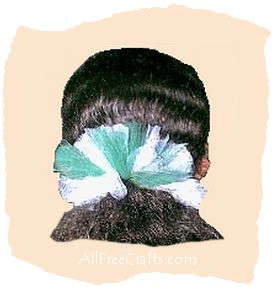
These kid’s crafts whip up in a jiffy using embroidery floss and kids love them! Have the kids make extra shoelaces to sell at your fundraising bazaar or garage sale. Or make two matching pairs, one to dress up your sneakers and one to braid in your hair!
Supplies:
- Safety pin or a fairly strong fridge magnet
- one yard each of three colours of embroidery floss for each lace or hair bow
- hair clip for hair bow (if desired)
- glue gun or craft glue (for hair bow only)
- clear or coloured nail polish
Instructions:
For Shoelaces or Hair Bows:
1. Knot the three coloured strands of floss together a half an inch from the ends. Pin to a pillow or clip to the fridge with a magnet, in order to provide tension as you work. Begin braiding, bringing the left strand over the middle strand, then the right strand over this new middle strand, untangling the long ends as you go.
2. When you have the desired length, knot all strand ends together, leaving a half inch beyond knot. Rub the ends with your fingertips to form a firm single strand. Dip this, up to the knot, into nail polish for easy threading when inserting laces.
3. For bow:
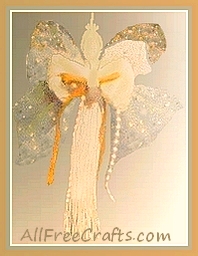
Follow the photo, folding lace into multiple loops. Take one end and fold over the center twice; repeat with the other end. Arrange these ends as the tail of the bow. Glue in place from the back then glue to a hair clip.
Variations:
Teenagers like using the laces as a hair accessory, braided directly into the hair. These are great bazaar items for your next fundraiser!
If you want thicker shoelaces, follow the instructions above, but use two strands of floss for each colour in the braid. Just hold the two strands together and treat as one.


Leave a Reply