Last updated on March 18th, 2024 at 09:56 am
Get a big bag of pompoms in assorted sizes and learn how to make yourself a pompom teddy bear family.
Craft Project Supplies:
- 1 – 2 inch pompom (tummy)
- 1 – 1 ½ inch pompom (head)
- 7 – 1 inch pompoms (hands, feet, tail)
- 2-1/8 inch pompoms (buttons)
- (pompom sizes will vary with different manufacturers, all sizes listed are approximate)
- Tacky Glue (hot glue for grown ups)
- ¼ inch Wide Scrap Ribbon
- Scissors
Craft Project Instructions:
Glue the 2 inch pompom and the 1 ½ inch pompom together (this forms the head and body). Trim away a little fluff from one side of both pompoms. The trimmed area will flatten the bear’s tummy and face.
Glue two 1 inch pompoms for arms, two more for legs and two more for ears (refer to the photo for placement).
Glue one 1 inch pompom to the back centre bottom of the two inch pompom, for a tail (this will help Teddy to sit up on his own). Glue two 1/8 inch pompoms on the tummy (you can use buttons or beads for this instead).
Tie a small bow and glue in place on the teddy’s neck.
Optional: to add a face, simply glue or sew on a couple of beads or buttons for eyes nose and a mouth. You can also add a push pin or broach pin to the back of the teddy and use on your bulletin board or wear a cute little homemade bear.

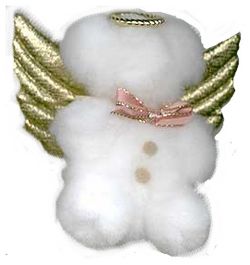
See our Pompom Teddy Angel to see an angelic version of this craft.
Copyright © 1999-2024 Susan Spatone All rights reserved.





Leave a Reply