Last updated on February 20th, 2016 at 11:54 pm
Here’s how to make gorgeous sequined eggs for Easter decorating.
By Jane Lake
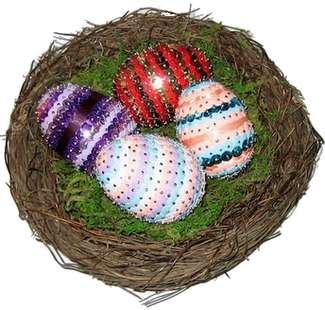
I was really pleased with the way this nest of homemade sequin eggs turned out, although I must admit each egg took longer than I expected. The sequins that I used were small, but if you need to get this project done quickly, and you have a choice, buy the larger ones.
What You Will Need:
- styrofoam eggs (buy eggs large enough to take a lot of straight pins)
- sequins
- straight pins (preferably short)
- piece of felt, fabric place mat, or another small piece of fabric to use as a work surface
- optional: ribbons
- optional: a thimble
.
Adding Sequins
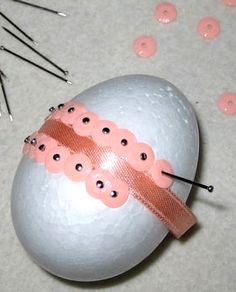
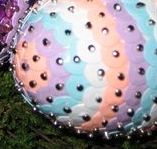
Spread a small piece of fabric on your work table and set out your sequins and a supply of straight pins.
You begin applying the sequins anywhere, but for the two eggs without ribbons, I began at the top of the egg (the small end) with a single sequin. Around that I put a contrasting row of sequins.
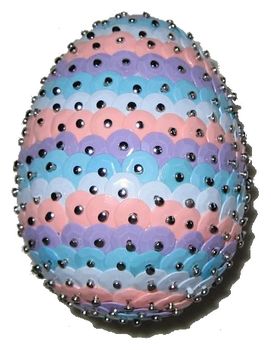 From this point on, try to position the sequins so they overlap the previous row a little bit, and overlap each other. I always worked from left to right, so the sequins always overlapped on the left-hand side.
Depending on the size of your egg, you may find that the pins collide inside, so that one pin already in place will prevent you from placing a pin opposite to it. If this happens, just withdraw the second pin and reposition it slightly, aiming the pin in a different direction. I found that aiming the pins slightly down and to the left of the row being worked on helped prevent most positioning problems.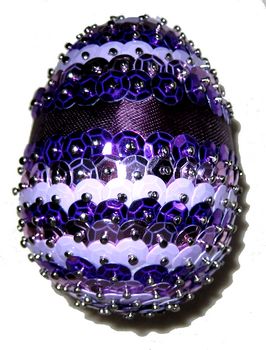
Adding Ribbon
If you wish to add rows of ribbon to your sequined eggs, it is probably best to begin around the middle. My styrofoam eggs had a manufacturing line around the centre, which helped line up the ribbon.
I did not use glue. Instead, I positioned the ribbon between two rows of sequins, so that each row overlapped the edge of the ribbon and held it in place. See the photo above, which shows the first ribbon being applied around the middle.
Tip: Do not choose wide ribbon for this project. Anything over a ½ inch will not lie flat against the curves of the egg. For the eggs that I was working with (slightly larger than a real large chicken egg) the ½ ribbon could only be used for one row around the centre line.
On outer rows, working with the narrow ribbon, if you do find that you have to ease the ribbon down a little bit, do it in tiny increments, creating very small little pleats or folds under the pins.
Ribbon Hangers
I displayed these eggs in a bird’s nest filled with moss, but I may add ribbon hangers to hang the eggs from my kitchen window frame. All you need for this is a loop of ribbon pinned to the end of the egg. Since sequin eggs are surprisingly heavy when finished, I would also add a drop of glue to make sure the hanger is secure.
More Help for Making Sequin Eggs
Reverse Pine Cone Faux Faberge Sequin Eggs
After completing these eggs, I found a great time-lapsed video showing how to make a beautiful sequin egg in a pine cone pattern, pressed into the styrofoam in a quick and clever way. Enjoy!
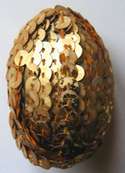 Sequin Egg With No Pins
Even younger children can make a lovely golden egg, without pins, following the directions on this Activity Village: Sequin Egg page.

Leave a Reply