Last updated on March 15th, 2023 at 01:03 am
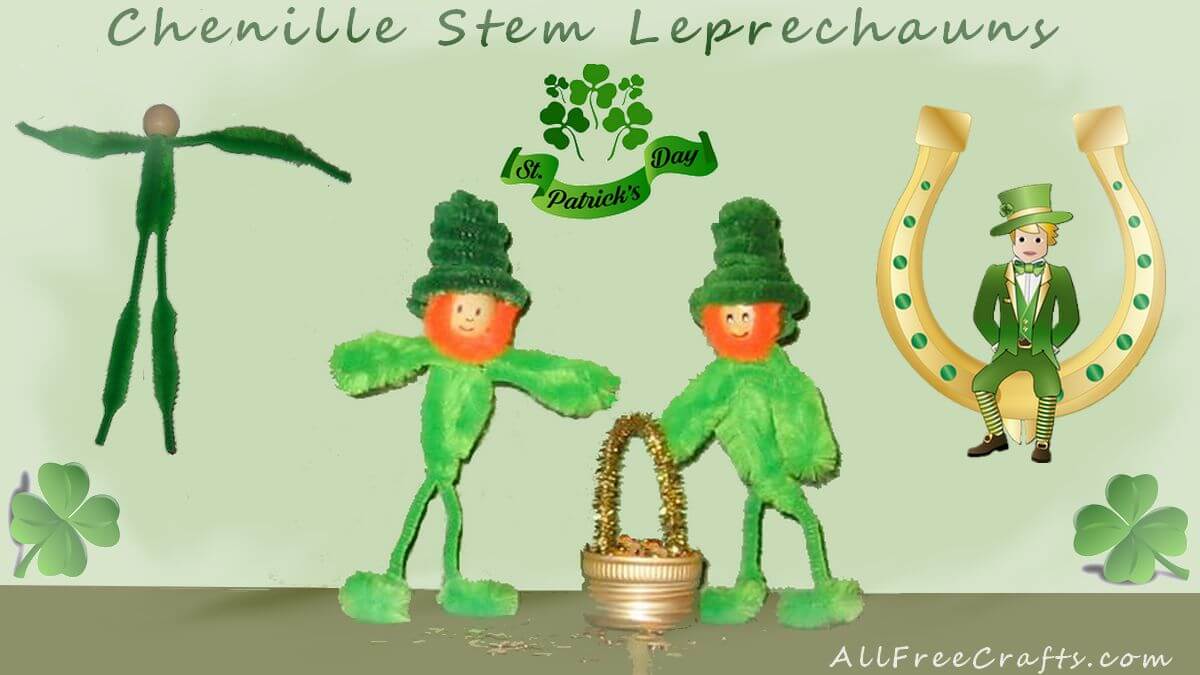
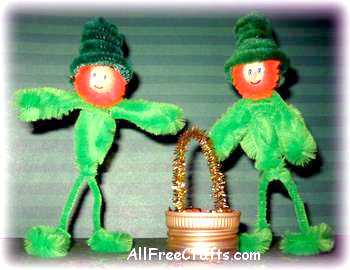
I was babysitting my friend’s children and it was close to St. Patrick’s Day. I had a few craft supplies so I helped them make two cheerful little stand-up chenille stem leprechauns for classroom dioramas.
I think these wee Irish folk would be amusing hidden around the house (like an elf on the shelf) or posed on a table for St. Patrick’s Day.
by Jane Lake
You Will Need:
- two “bumpy” chenille stems in spring green
- one straight chenille stem in dark green or black for the hat
- small piece of chenille stem in orange for beard
- one wooden bead for the head
- permanent marker or paint to make facial features
- scissors
- white craft glue
Make the Main Leprechaun Body:
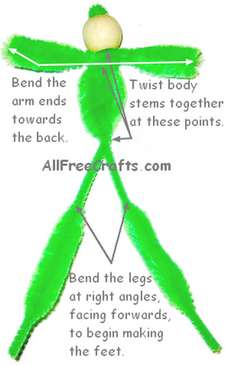
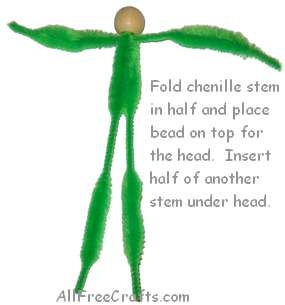
Take one bumpy chenille stem and fold it in half so that you have two bumps that line up on each half. Thread a wooden bead just over the end of the folded top, then twist the two stems together just below the bead.
Cut a second bumpy chenille stem in half so that you have two pieces each with two bumps. Set one of these pieces aside. Take the other piece and thread it between the two body stems, placing it just below the spot where you twisted the body stems together just beneath the bead. This piece will form the arms.
Push the arm piece up against the bead then twist the two body stems together again just below the centre of the arm piece, catching it tightly between the two twisted spots.
Bend each end of the arm piece toward the back to form the two arms and lightly twist the end around to secure. Twist the body stems together where the legs begin.
Make the Leprechaun Feet:
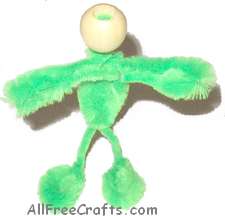
Bend each of the legs at right angles toward the front to begin making the feet. Curl the foot section in a circle and twist the end around the “ankle” section of the leg.
Test to see if the leprechaun will stand up.
You will probably need to adjust the bend of the foot and to make sure that the circle of the foot sits flat on your work surface. If the figure is still off balance, try bending the upper body forward or back a little until it will stand on its feet.
Painting the Leprechaun Face
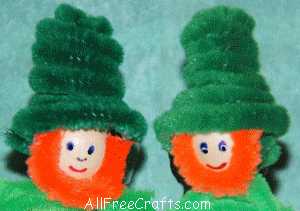
Make a simple face by drawing on two blue or black dots for eyes and a shallow “U” shape for the mouth with permanent marker or paint.
Cut a small piece of orange chenille stem and curve it into a “U” shape to fit around the bottom of the bead as the leprechaun’s beard.
You’ll need room at the top of the bead for the hat placement in the next step so do not make the sides of the beard too high.
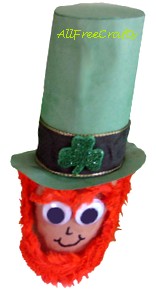
Apply white glue to the back of the beard and press into place with your fingers until the glue holds.
Note: Another free project that uses orange chenille stems for the leprechaun beard is this toilet paper roll leprechaun with a top hat.
Shaping the Chenille Stem Hat
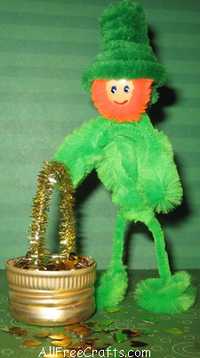
Cut a straight green or black chenille stem in half. Set one half aside for other projects. Begin curling the remaining half around a pen or pencil. When you have about three curls, do one more curl, then keep curling over the stem in this one spot until you come to the end. When you remove the stem from the pen, you should have a small hat shape with a brim, similar to those shown in our photos.
Press down all the spirals, or pinch them between your fingers, to compress them and close any gaps. If there is a gap at the very top adjust the end to close it.
Apply white glue all around the underside of the hat brim and set the hat in place, with the back part of the hat covering the back side of the head and the front of the hat set on top of the beard.
Optional: Make a Pot of Gold

A gold-colored metal bottle lid, gold chenille stem and gold confetti are all you need to craft a pot o’ gold for your chenille stem leprechauns.
Cut a small length of gold chenille stem and bend it into an upside down “U” shape to fit inside a bottle cap. Apply glue to each end of the stem and set it into the bottle cap. Let dry.
Fill the bottle cap with plastic gold confetti. If desired, scatter some the gold treasure around the pot as if the leprechaun’s pot of gold is overflowing.
Ideas for a St. Patrick’s Day Leprechaun Diorama
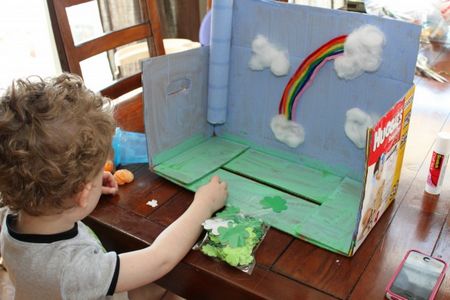
Find a small cardboard box with an open top that you can lay on its side to hold the diorama. Cut green paper to fit the inside bottom and glue into place to represent grass.
Cut blue paper to fit the inside back, top and sides, to represent the sky. You could also use white paper and draw or paint some trees, mushrooms, a rainbow or other scenery.
Apply glue to the bottom of the leprechaun’s feet and hold in place until the leprechaun remains where you want him. Glue the bottle cap “pot of gold” beside the leprechaun. Glue some gold confetti on the ground around the pot as if it has just spilled out.
Apply glue to a small cotton ball and set it inside the pot. Apply glue to the top of the cotton ball and sprinkle it with gold confetti until the cotton ball is completely covered. Let the glue dry.
Add other pieces of scenery (fairy mushrooms, shamrocks or clover) as desired.
I also love the BusyBugs Leprechaun Trap made by two small kids after a leprechaun left them with green water in the bathtub and toilet, rainbow streamers in the hallway, and green painted toys, lol!


Leave a Reply