Last updated on November 28th, 2021 at 12:23 am
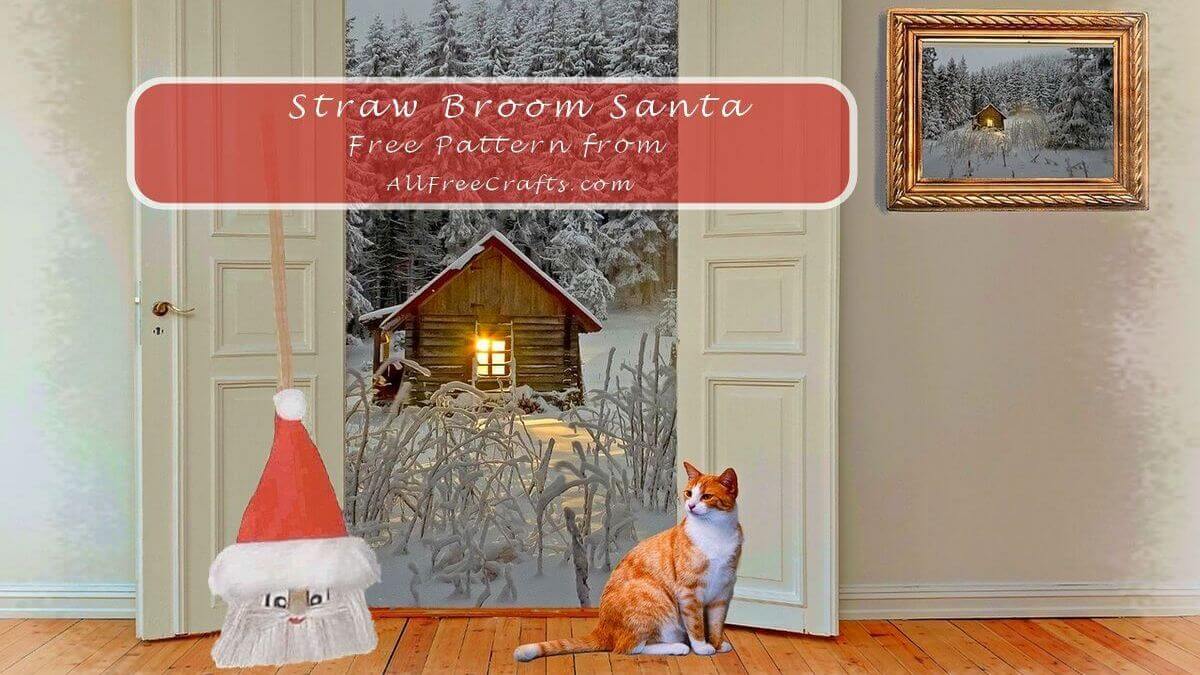
This homemade straw broom Santa looks cheerful and welcoming standing near your doorway to greet visitors and you need just a few inexpensive craft supplies to make it.
Editor’s Note: This is an older Christmas craft project, with timeless appeal, but the original photo was a bit uninspiring all on its own. So I used a beautiful background image by cocoparisienne on Pixabay to give our straw broom Santa decoration an awesome setting. Enjoy!
by Twila Lenoir
How to Make a Straw Broom Santa Decoration
AllFreeCrafts is reader supported! Many supplies are found at thrift stores so try that first! However, if you buy from an affiliate link on this site, I earn a commission at no extra cost to you. As an Amazon associate, I earn from qualifying purchases. This has kept AllFreeCrafts.com online since 2002. Thank you!
Craft Supplies:
- 1 large straw broom (Amazon link)
- two 3 inch straw brooms for crafts (Amazon link)
- 2 squares of red felt, plus a small red piece for the mouth
- scraps of black and white felt
- 1 medium tan pompom and 1 large white pompom
- 13-1/2″ length of white fun fur
- White acrylic paint
- Craft glue or glue gun and hot glue sticks
- Free Printable Santa eyes and mouth pattern pieces
1. Start by painting the broom whisks white as Santa’s beard. You don’t have to completely paint it white – leave some of the natural whisks showing through the white paint.
Also leave natural the area where the face will be, as this will look like skin tone, especially between the eyes. Cut the broom handles off the tiny brooms, and paint these white to make Santa’s mustache.
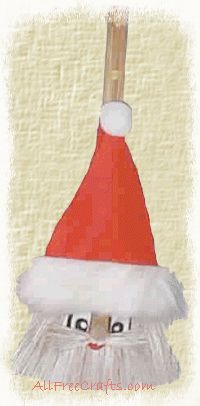
2. Print out the pattern for the eyes and mouth and trace onto felt pieces as shown in the picture. Cut out all the face pieces.
3. For Santa’s hat, take a full square of red felt and wrap it around the broom from the back to the front, making it high enough to leave room for Santa’s face and hair. Glue this down at the back.
4. Take the other piece of red felt and a 13 and 1/2 inch piece of fake white fur and glue it down along the bottom length of the felt, making sure there are equal amounts of fun fur left hanging on each side.
5. Starting at the top, wrap the felt around from the front to the back of the felt that you have already glued in place. The edge with the fun fur will be the widest area, at the bottom, and the felt should narrow as it goes toward the top. Experiment with the felt and fur until you have a hat shape, then glue it down.
6. Lastly, glue on the two tiny brooms just below the nose area for the mustache, then glue on the medium size pompom for the nose. Use a small red piece of felt for the mouth. Use black and white pieces of felt to construct the eyes. Print and cut out the eye pattern pieces at left or draw your own similar shapes. Trace these pieces onto felt and cut out. You’ll want a large black shape first, then white, then black and a tiny dot of white felt for the pupil.
We hope you have enjoyed this free Christmas craft. Have a safe and happy holiday!

Leave a Reply