Last updated on December 19th, 2024 at 12:24 am
Nutty Christmas Critters to Make from Walnuts and Hazelnuts or Acorns
by Jane Lake
Materials:
- Assorted nuts, such as hickory nuts, filberts or acorns for faces, plus walnuts for the bodies
- wood file
- Scraps of fabric, tiny pompoms and other embellishments
- Glue gun and glue sticks, or craft glue
Project Instructions:
Insert knife into the larger end of the walnut and carefully twist to pry the halves apart; remove nut meat.
Place walnut sections on newspaper and give them two coats of a fast-drying, flat enamel spray paint.
When nut halves are dry, apply two coats of the final color of paint.
When the paint is dry, glue both halves together. After the glue is dry, file off the point of the walnut.
Pick a nut, such as a filbert or acorn, to use as the character’s head. Glue the head to the filed end of the walnut body.
You can position the filbert, or the nut chosen as head, in whichever direction looks best for your chosen character. The pointed end of the nut can work as a facial feature, such as a nose, a pointy head or a neck.
Use acrylic paint and fine brush, or opaque paint markers, to paint a face.
Seal everything with a coat of acrylic spray.
Decorate the nutty critters any way you want using felt, lace, rickrack, pompoms (for arms), bows, yarn, cord, sequins, pipe cleaners, chenille (for beards or hair) or beads etc.
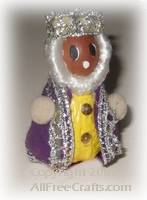
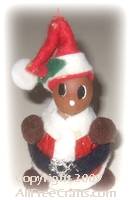
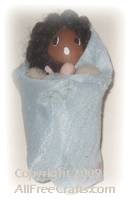
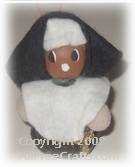
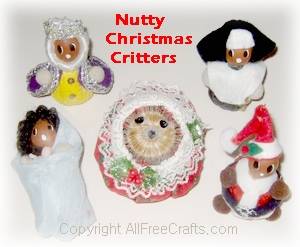
Refer to the photos for ideas on how to decorate specific characters.
You’ll find the Teasel Hedgehog on his own page, as well as this Sleepy Walnut Mice Trio.
Here, we used black and white felt shapes to dress a nun; we wrapped Mother Mary in a small scrap of blue fabric and tucked in a tiny baby Jesus; the Wise King sparkles with sequin buttons, plus silver trim on his purple felt robe; Santa, of course, is dressed in traditional red and white, with a tiny white pompom to trim Santa’s hat.


Leave a Reply