Last updated on December 8th, 2024 at 12:04 am
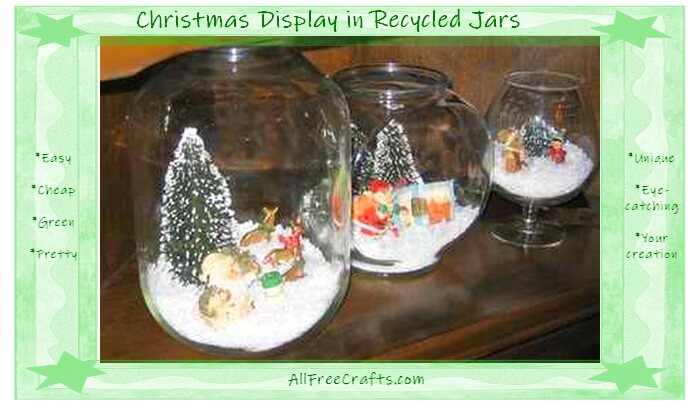
Recycled Class Bottle and Bowl Christmas Displays
by Jane Lake
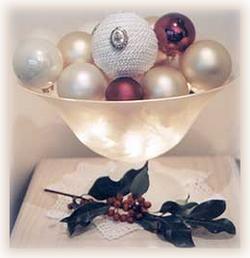
You don’t have to spend a fortune to make a glass Christmas display that will make people want to bend down for a closer look.
Simply recycle glass bottles, jars, bowls and vases that you already have around to create a Christmas landscape in miniature.
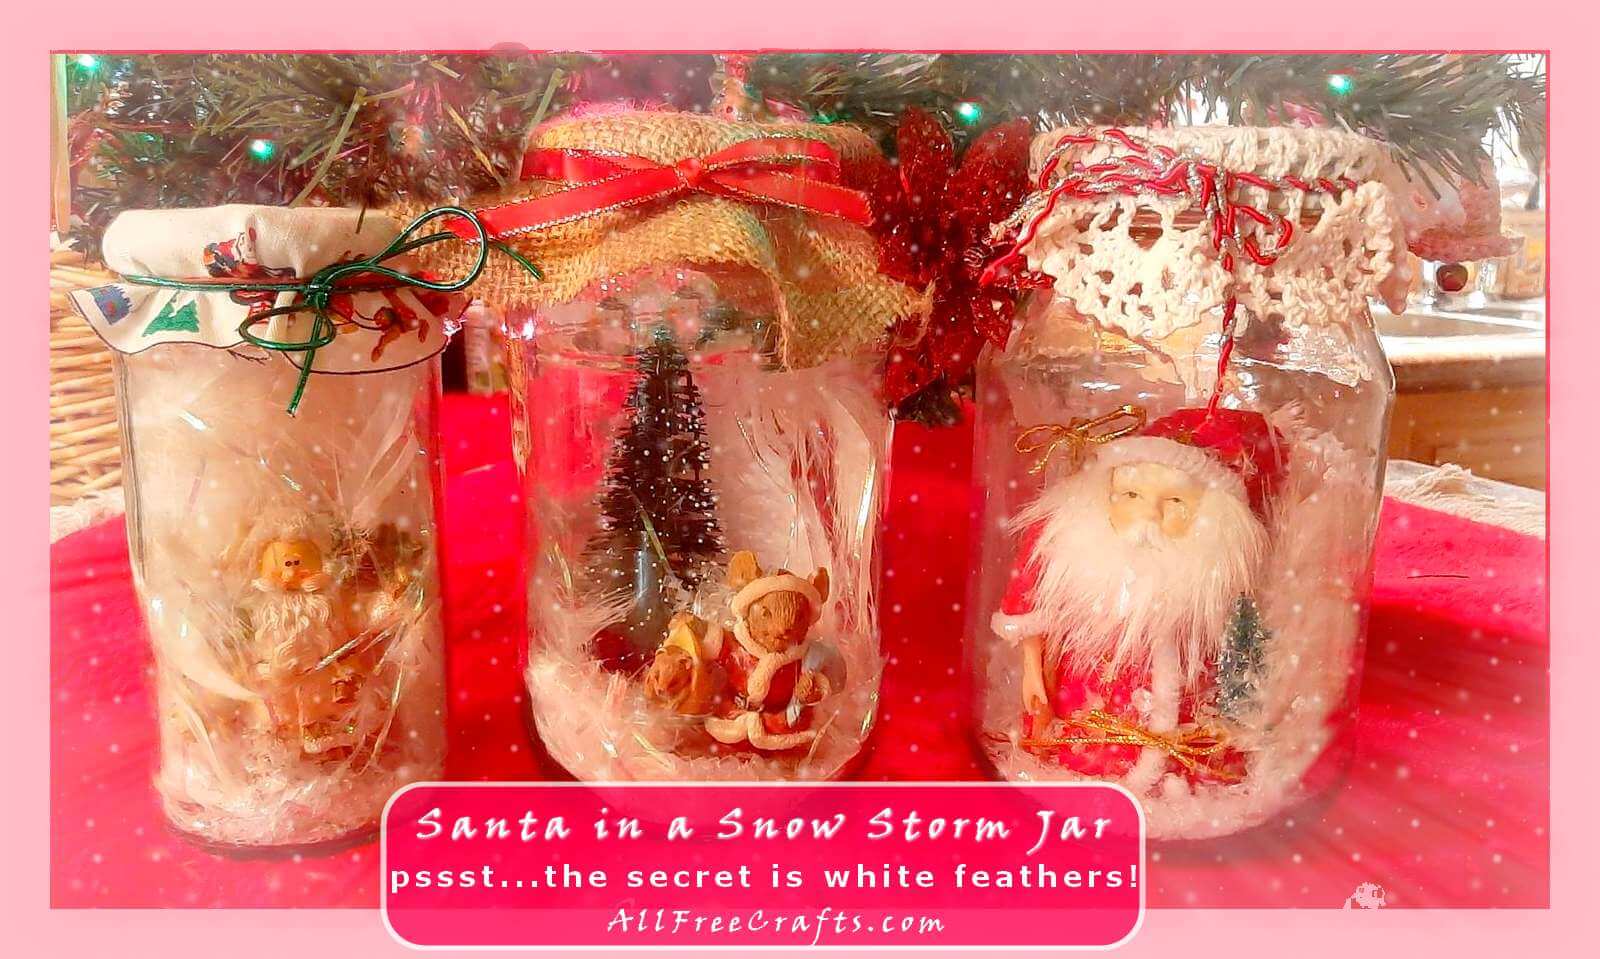
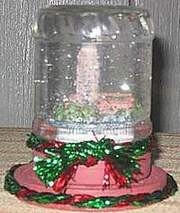
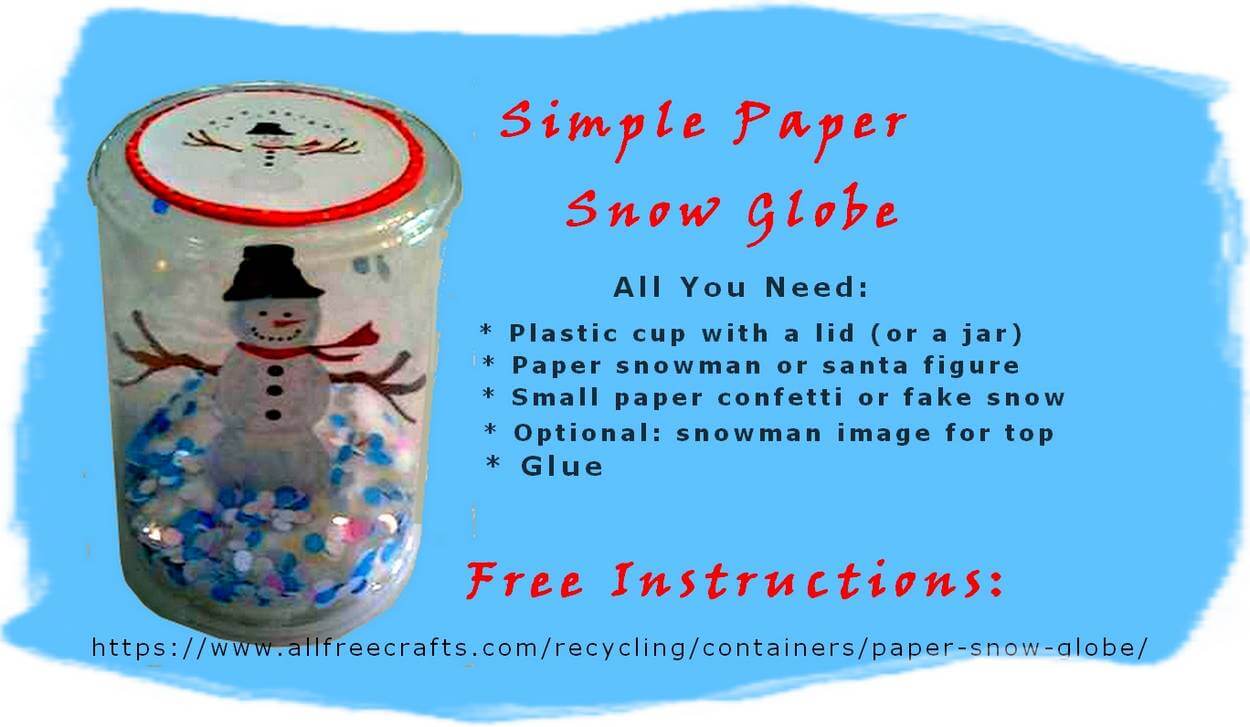
On a smaller scale, check out how to make Santa in a Snow Storm Jars or how to make a paper snow globe from a plastic cup and paper cut-outs.
You Will Need:
- glass bowls, jars and bottles in assorted sizes
- bottle brush Christmas trees in assorted sizes
- artificial snow
- Christmas figurines and ornaments
- plasticine or modelling clay
What You Do:
Go on a treasure hunt for suitable glass containers for your miniature Christmas display.
Look on top of cabinets, in the back of the pantry, in the basement – anywhere you may have stashed a bottle or glass container that was too nice to throw away but you had no use for at the time. Those are perfect!
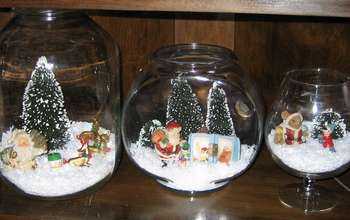
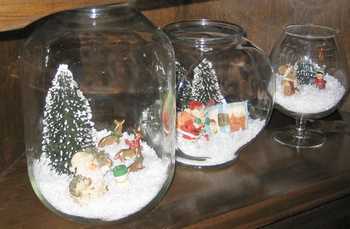
I used a family-size glass pickle jar, an old fish bowl, and an over-sized brandy glass.
Wash the glass pieces thoroughly and polish them with a dish cloth until they shine.
If they are fogged up from too many rounds in the dishwasher, or have old water lines on them like the fish bowl that I used, rub the glass with white vinegar to dissolve the film, then rinse, dry and polish to a shine.
Get Creative
Set the glass containers in front of you on a table. Assemble a selection of Christmas figures, figurines and miniature landscape features, including bottle brush Christmas trees.

Play around with everything! Set a few things in front of each glass container for a sense of the scale and positioning. Once the “look and feel” of each arrangement pleases you, onto the next step.
Pour a nice bed of fake snow into each glass bowl or jar.
Start placing items into the snow, creating a small tableau in each container. You’ll likely find some figures or ornaments fall over as they settle in the fluffy snow. Take those out and embed them in a base of plasticine or modelling clay.

Form the plasticine into a larger base than that on the original ornament, as this adds both weight and balance. If necessary, you can push the plasticine right down through the snow, sticking it directly to the glass floor of the container to keep that particular piece in position.
When your “Christmas in the Snow” scenes are complete, arrange them as a group on a side table.
Hint: use just one scene as an eye-catching centerpiece!

Leave a Reply