Last updated on December 24th, 2024 at 02:33 pm
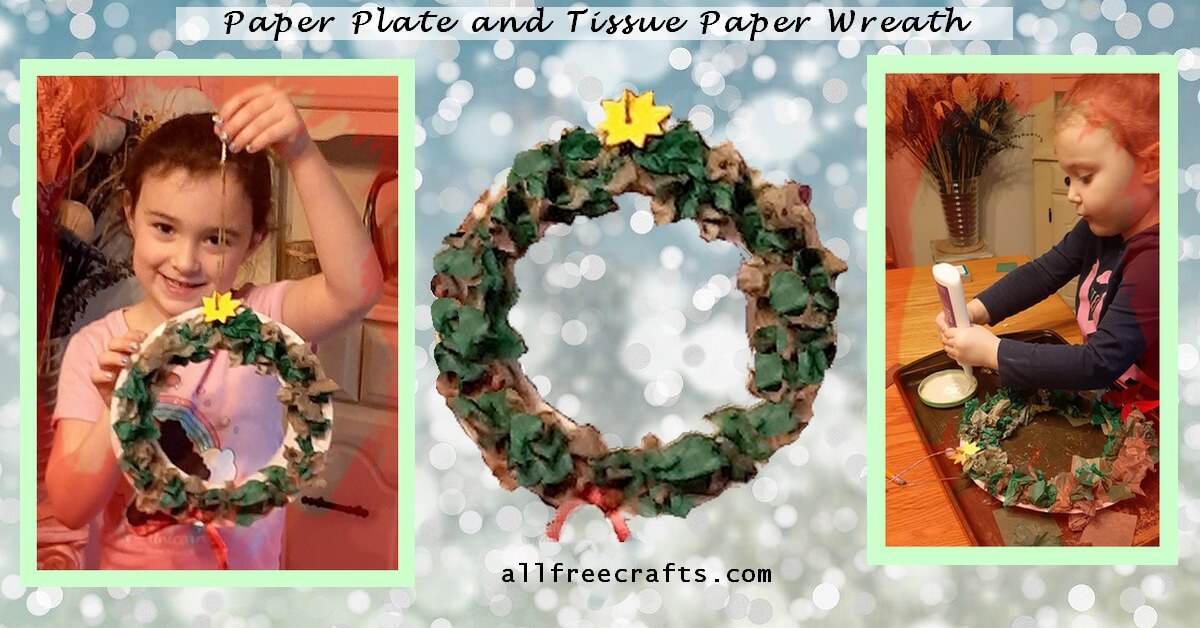
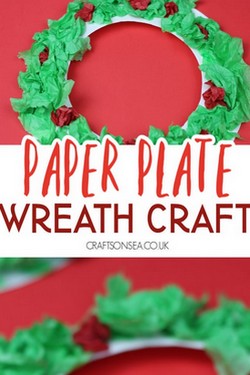
You probably made a paper plate and tissue paper wreath as a child. This is a fun, festive, but messy craft project for preschoolers and younger kids.
Keep the emphasis on fun but contain the mess by gathering a short list of supplies and putting everything on a tray or an old cookie sheet.
A few tissue paper squares will probably blow around and end up on the floor. No big deal. However, you should keep an eye on how much glue gets squirted out of the bottle.
I found this out by taking my eye off the bottle for about ten seconds, lol.
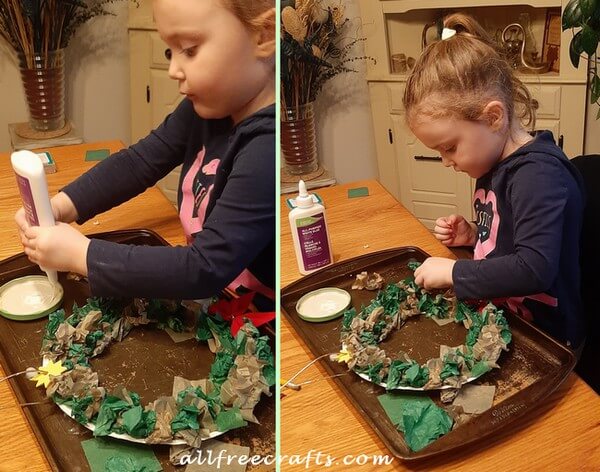
Still, my granddaughters were busy creating beautiful paper plate and tissue paper wreaths for about half an hour. As they worked, they discussed which family members would be the lucky recipients of these awesome Christmas decorations. Heart-warming memories. Fun. And priceless.
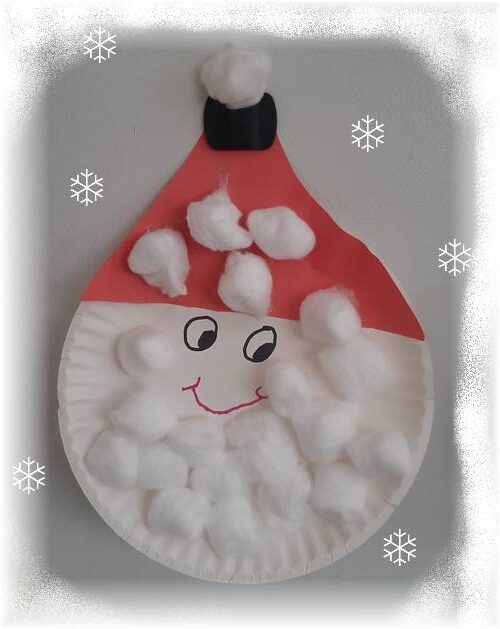
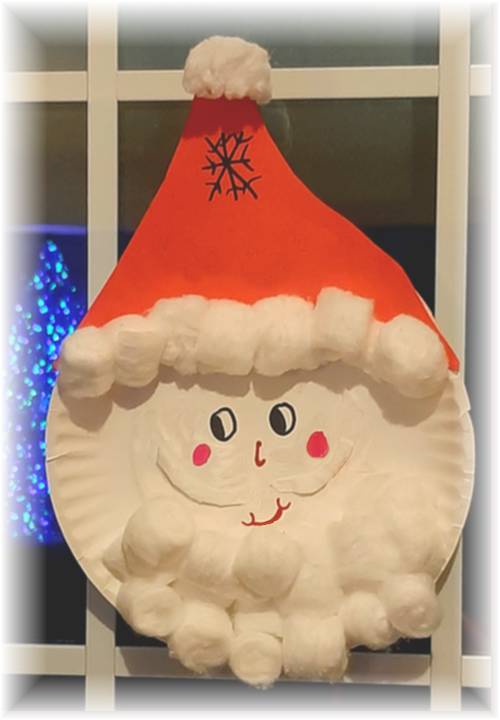
Variation on a Theme: Paper Plate Santas
My girls have also made Paper Plate Santas with Cotton Ball Beards and construction paper red hats.
It’s another simple paper plate craft for getting in the Christmas spirit. This one was done by a 7-year-old, the one at right (or below) by a two-year-old.
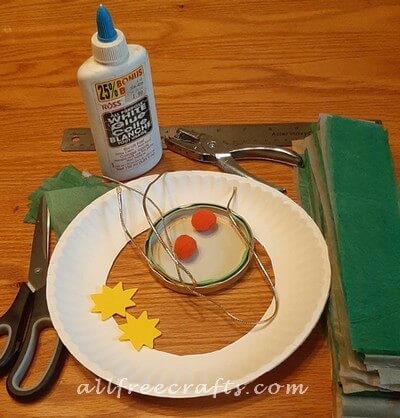
What You Will Need:
- paper plate
- tissue paper sheets
- white glue
- jar lid to hold glue
- string or ribbon for hanger
- tray or cookie sheet
- Tools: ruler, scissors, paper punch
- Optional: pompoms, stars or other small Christmas ornaments
Instructions for Paper Plate Wreath:
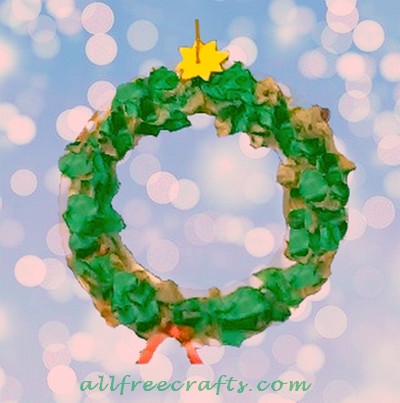
- Prepare the Plates and Tissue Paper: For each wreath, cut the center out of a paper plate. Measure and cut two or more sheets of tissue paper into strips at least two inch wide then cut the strips into two inch squares. Tips: You’ll need lots of squares! I wish that I’d cut three inch squares as they would be easier for kids to handle and the larger size would make the wreath a little fuller.
- Prepare the Hanger: Use a paper punch to make one hole near the edge of the wreath. This positions the ribbon or string hanger at the top of the wreath. If you don’t have a paper punch, just staple or glue the hanger in place after the wreath is completed.
- Organize Supplies: Arrange everything the kids will need on a large tray or cookie cutter sheet. The essentials are a jar lid to hold glue for dipping, the tissue paper squares and the paper plate wreath base.
- Demonstrate How-to: Add a dollop of white glue to the jar lid. Take a tissue square and loosely scrunch it up between your hands. Dip this loose wad of tissue into the glue then press it onto the wreath. Ask the kids to do the same. We tried other methods (see variations below) but this was the one we liked most.
- Add the Hanger: Once the wreath is covered (or mostly covered) in tissue paper, add the hanger. Just thread a string or ribbon through the punched hole. We punched a hole in a yellow foam star and added that to the string before tying the string in a loop.
- Finish with a Bow: Finally, glue a bow at the bottom of your paper plate tissue paper wreath. This can be made from the children’s handprints cut from red construction paper. Or you can very quickly make a mini bow from narrow ribbon woven through the tines of a dinner fork. Add cluster of red pompoms if you like, but or a simple red bow of any sort makes a pretty addition at the bottom of your paper plate tissue paper wreath.

More Paper Plate and Tissue Paper Variations for Toddlers and Young Children
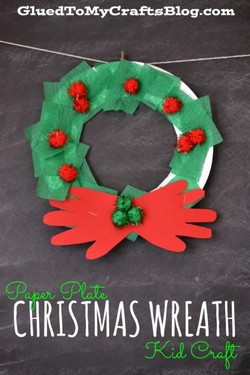
Toddler-friendly wreath with glued tissue paper squares, glittering red pompoms and hand print bow.
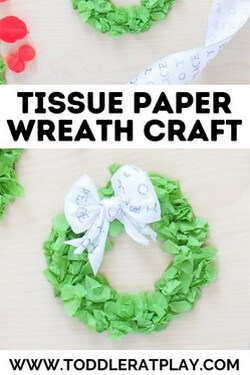
Base is made from a cardboard circle but I think a paper plate would work well too.


Leave a Reply