Last updated on January 4th, 2024 at 12:06 am
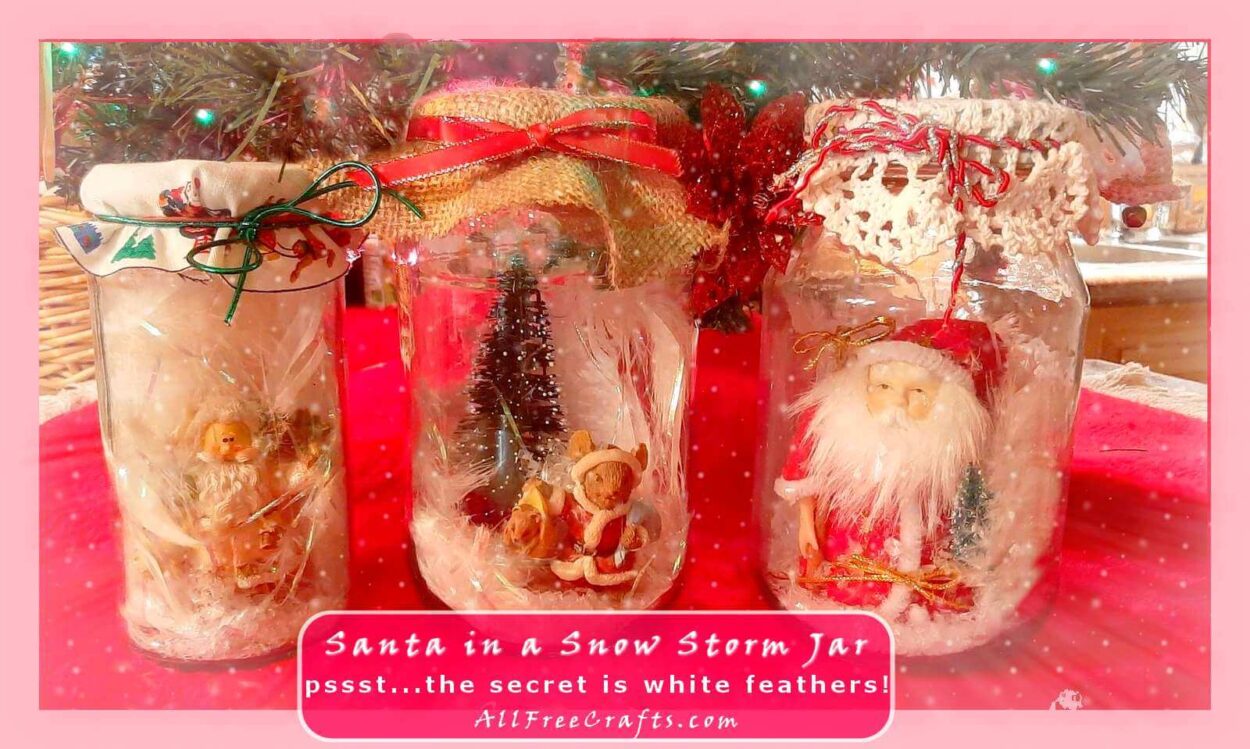

Set a small Santa figurine into a recycled glass jar then surround him with sparkly white feathers and snow to make a Santa in a Snow Storm Jar.
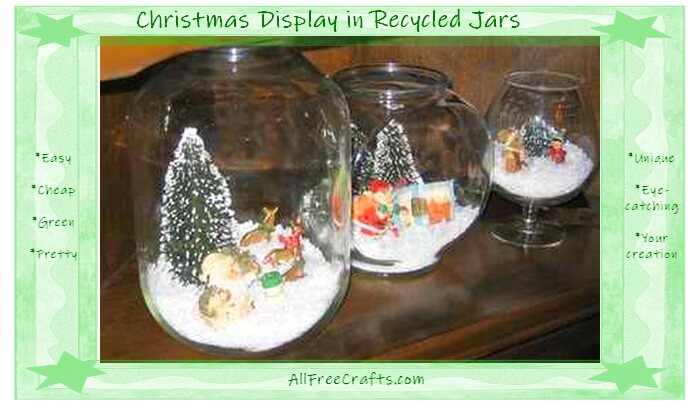
I wanted something a little smaller than my Christmas Display Under Glass this year. Smaller and simpler. These three recycled jars fit the bill for me. Because I don’t have small children any more, I was able to make these Santa in a Snow Storm Jars without glue.
These jars aren’t filled with liquid and don’t act as snow globes. But if you have kids around who want to shake the jars to watch the snow settle, it’s do-able. In that case, however, you’ll want to secure the larger elements with hot glue or a reliable firm-grip adhesive such as Gorilla Glue.
How to Make a Santa in a Snow Storm Jar
What You Need:
- clean wide-mouth glass jars
- Santa figurines
- white feather boa with optional tinsel or fluffy white feathers
- artificial snow
- fabric circle or doily
- narrow ribbon
Optional Elements:
- hot glue or Gorilla glue
- additional scenery such as small artificial evergreen trees
- rubber band
- pinking shears
Craft Instructions
The instructions for all three of my Santa-in-a-Snow-Storm-Jars are the same.
The only difference is in your choice of the Santa figurine, any additional decorative elements you may add such as tiny artificial evergreen trees, and your choice of the fabric topper and ribbon.
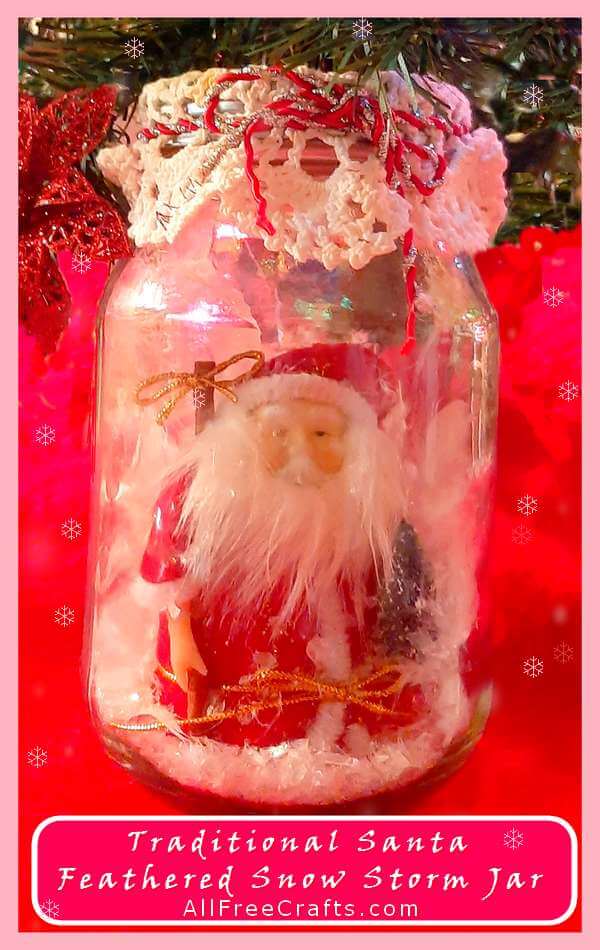
This project is easier to do than it is to explain so, once you’ve made one, you can make as many as you like.
If you’re making the Santa Snow Storm Jars as a Christmas decoration gift then I would definitely glue things down to keep the scene looking the way that you made it.
If you’ll display it where no one will mistake the Santa in a Snow Storm Jar for a shakeable snow globe, or you only want it to last one season, then skip the glue. You can also keep the pieces and create another Santa snow storm next Christmas.
- Wash and polish a recycled wide-mouth jar until it gleams. Good choices may be pickle jars, large jam jars or wide-mouth mason jars. The jar should have a tight-fitting lid although a two-piece sealing band and lid also works for a mason jar.
- Assemble the rest of the materials so that you can play around a little to get the look you want.
- Place your Santa figurine and and any extra scenery pieces into the jar. Some jars have a flat bottom surface while others have a mound molded in the glass. This affects whether the figurine stays in place or moves, If you want to secure things then do so by applying plasticine, firm glue like Gorilla glue, or hot glue to the bottom of figurine then placing it firmly, and quickly, into position.
- Next, add the feathers. Mine came from a dollar-store white feather boa garland with a small amount of iridescent tinsel. I cut small segments off the boa (about a half inch to one inch) and pressed them into a jar, moving them around the Santa figurine until I got the windy, stormy effect that I wanted.
- If you like it looks, stop now. If you’d like more snow on the ground then add a few spoonfuls of artificial snow.
- Now you have Santa surrounded by a storm of feathers and snow, you’re almost done. The next step is cutting a fabric circle for the lid topper or finding a doily to fit the lid.
- Either way, you’ll need a circle of fabric which measures the diameter of the jar lid (measure straight across the center of the lid) then add the depth of the lid side plus another inch.
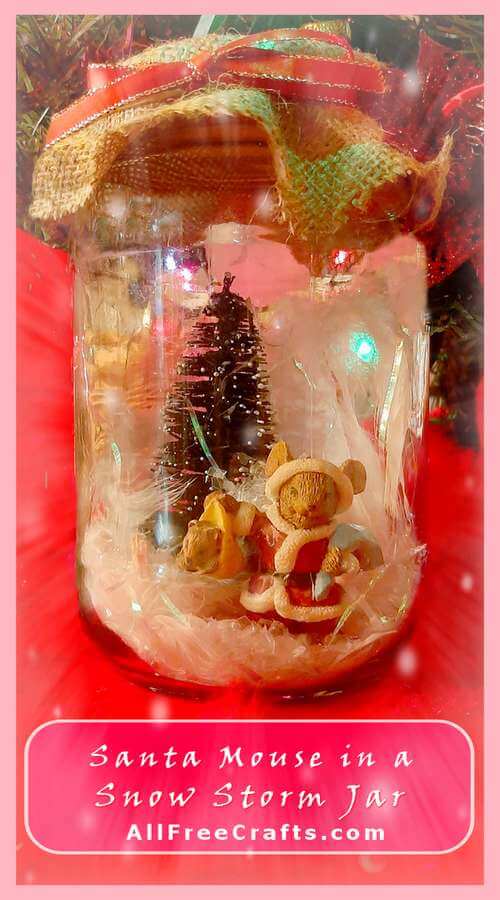
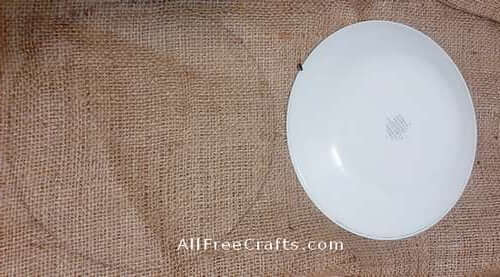
- Here you can see that I found a sandwich plate that was roughly 1-1//2 inches bigger in diameter than the jar lid on my Santa Mouse in a Snow Storm Jar. I traced around it on burlap fabric then cut the circle out with pinking shears to help prevent fraying. Ordinary straight scissors also work fine.
- Firmly fasten the lid onto your jar then center a doily or fabric circle on top of the lid. I found it easier to secure the fabric circle with a rubber band before adding ribbon. Tie your choice of decorative ribbon around the fabric circle so that the fabric covers the sides of the jar lid and creates a ruffled edging. To finish, tie the ribbon in a bow.
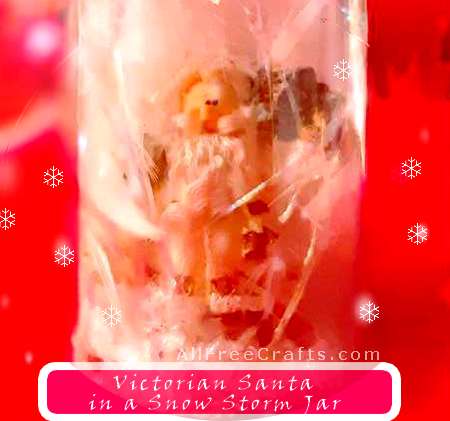
Here’s my Victorian Santa in a Snow Storm Jar (shown above). Santa was my theme this year.
Next year, I might try Angels in a Snow Storm or simply a winter snow storm scene with little evergreen trees.
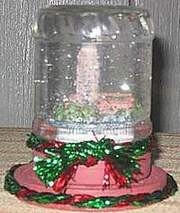
For a similar take on a larger scale, please see my Christmas Display Under Glass project. You may also be interested in making a Homemade Snow Globe or this simple Paper Snow Globe. Enjoy!
Leave a Reply