Last updated on October 13th, 2021 at 11:49 pm
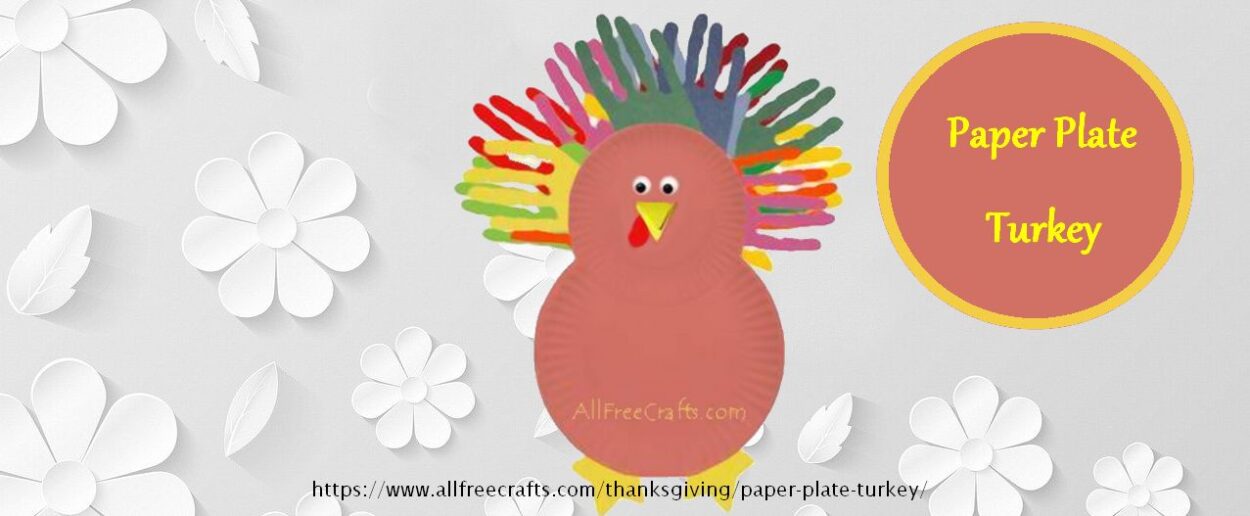
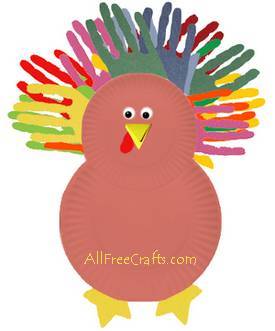
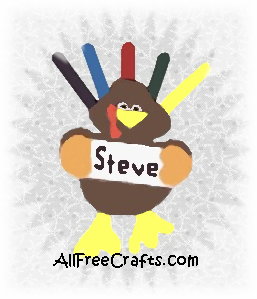
How to make a paper plate turkey for Thanksgiving, with construction paper hand print tail feathers and construction paper feet.
This is a lovely interactive art project for youth groups and classrooms. The supplies are simple but the effect is colorful and engaging, perfect for Thanksgiving Day.
by Jane Lake
Prepare the Supplies
Craft Supplies:
- one large paper plate
- one smaller paper plate
- brown craft paint (or brown crayons)
- construction paper in assorted colors, including yellow and red
- white glue
- pencil
- scissors
- two plastic, movable eyes (or draw your own)
1. Color two paper plates in brown paint or crayon.
2. With pencil, trace around children’s hands on construction paper. Cut out the hand prints.
3. Fold yellow construction paper and cut a small triangle against the fold to make a beak.
4. Draw a foot shape onto the remaining folded yellow construction paper and cut out matching feet.
5. Cut a small, thin oval from red construction paper, making the oval at least as long as the yellow beak.
Assemble the Paper Plate Turkey
Glue the small paper plate to the top area of the larger paper plate to make the turkey’s head and body.
Turn the paper plates over, so you are looking at the back. Glue construction paper hand prints all around the smaller paper plate, so the fingers of the hands stick out at the front like turkey tail feathers but most of the palms are glued down. Add another layer of hand prints, gluing down each one between two of the hand prints on the first layer so that all the colored fingers can be seen looking from the front.
Glue the red oval wattle to the back of the yellow triangle beak. Glue the beak to the center of the face.
Glue or draw two eyes above the beak.
Finally, glue two yellow feet to the bottom of the large paper plate.
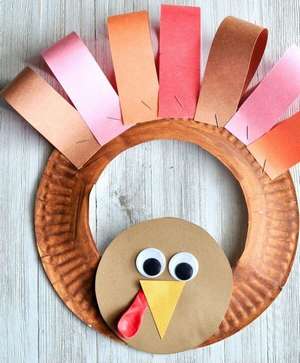
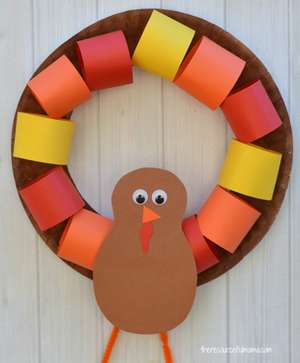
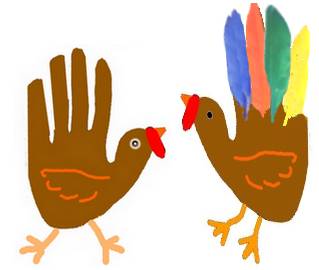
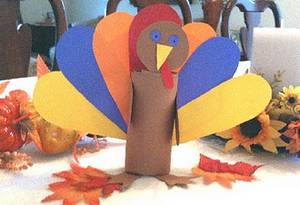
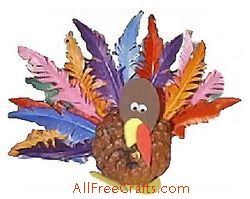
Favorite Variations (links to other sites):
Leave a Reply