Last updated on March 5th, 2024 at 07:48 pm
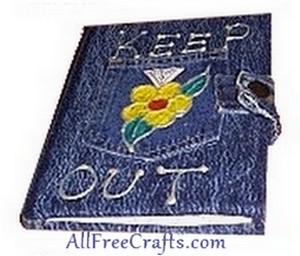
This denim recycling project is fun to do, and makes a perfect homemade gift for a young person who keeps a diary or journal.
No sewing is necessary because you put this project together with hot glue.
By Jane Lake and Twila Lenoir
Craft Supplies:
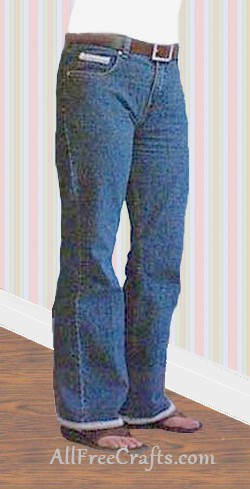
- adult pant leg from old blue jeans
- blue jean pocket
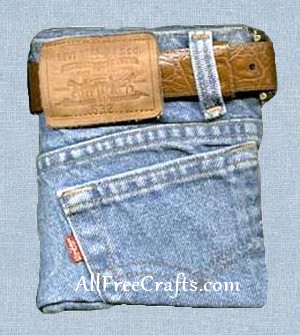
- about 3″ of the waist band from jeans, including the button and button hole area
- fabric paint
- diary or journal book
- hot glue gun and hot glue sticks
Project Instructions:
1. You will need a denim section cut from the upper part of the leg from an old pair of adult blue jeans. This needs to be just larger than the diary that you will be covering. Once you have a suitably sized tube section, cut up the leg near the inside seam and flatten out.

2. Lay the diary open so that the spine of the book is lying on the seam that you have left on the pant leg. Trim around the book, leaving a half inch all around to fold in.
3. Fold in the edges of the denim and hot glue to the inside cover of the diary (almost as if you are wrapping a gift). Cut two small slits near the seam material, on both ends. This will allow you to fold in the single edges neatly. Bring up the seamed areas and glue those in place as well.
4. Glue down the first diary page and the last diary page, so that these pages cover the denim edges inside the book.
5. Glue a denim pocket to the front, leaving the top open for a pen or pencil. Paint a flower or other design on the pocket using dimensional fabric paint.
6. If there is a buckle on the diary, cut it off. You may need to experiment a little with the position of the button and the buttonhole so that the book buttons easily. Glue the button, plus a small part of the waistband, to the front of the diary, as shown in the photo. Glue the button hole, plus a small part of the waistband, to the back of the diary.
7. Button the journal and give to intended recipient. Enjoy their smile!
Editor’s Note: I found a short video on YouTube that appears to follow these directions except for using craft glue instead of hot glue. If you like visual directions, take a look!


Leave a Reply