Last updated on February 17th, 2025 at 08:35 pm
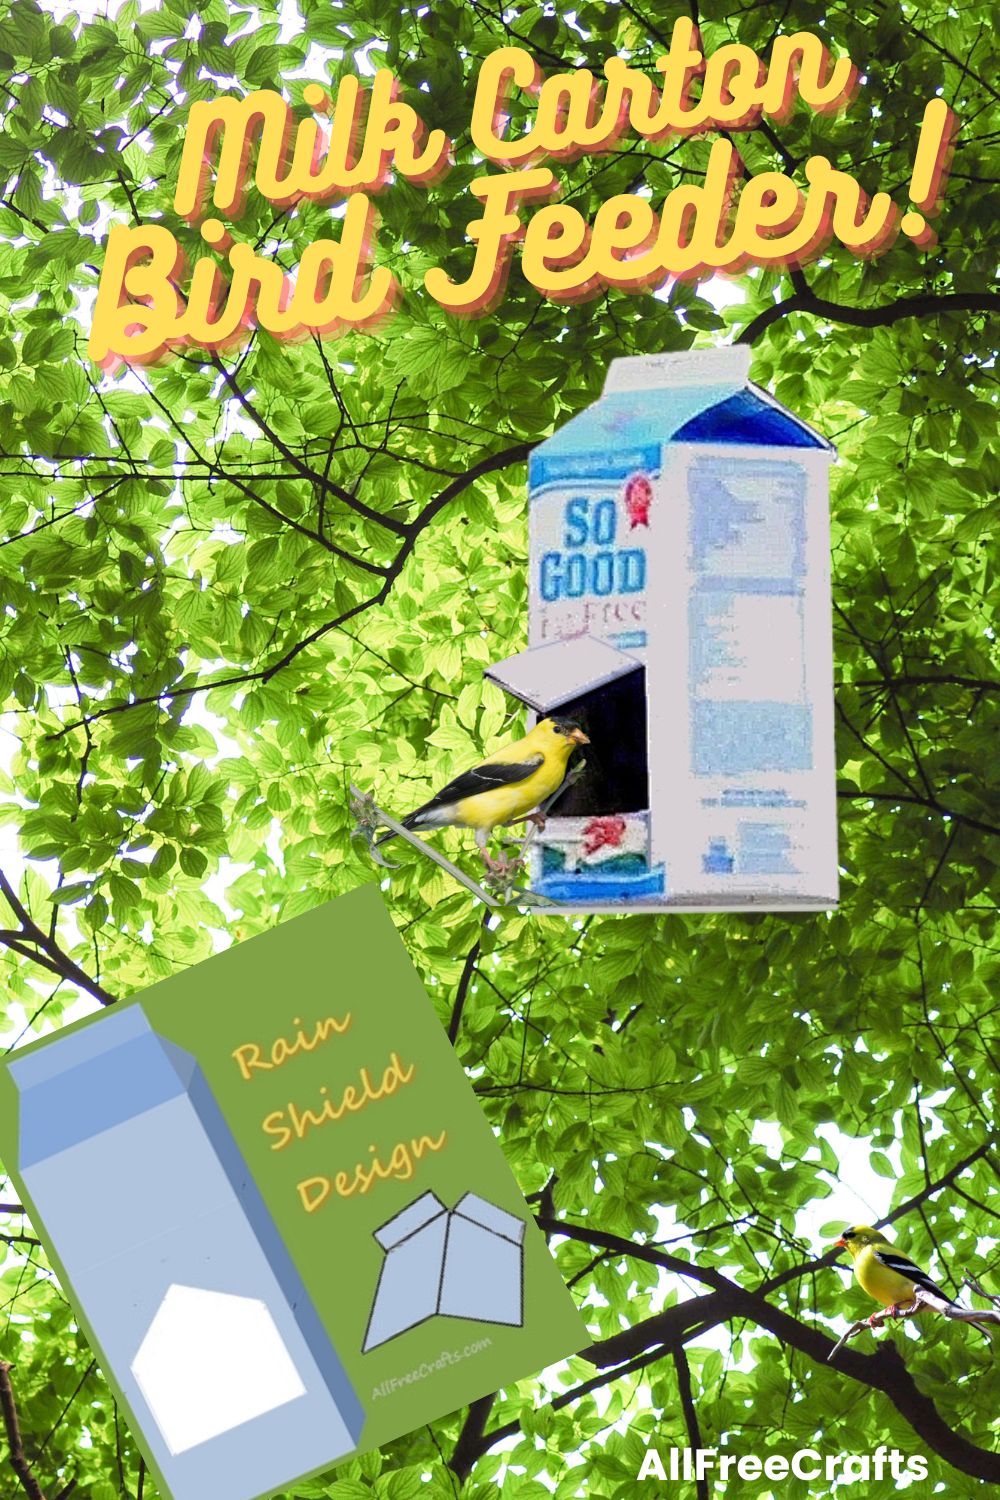
Here’s how to recycle a milk carton or juice carton to make an excellent bird feeder for finches, sparrows, chickadees and other small feathered visitors to backyard bird feeders. This design includes a rain shield made from the cut-out of the opening.
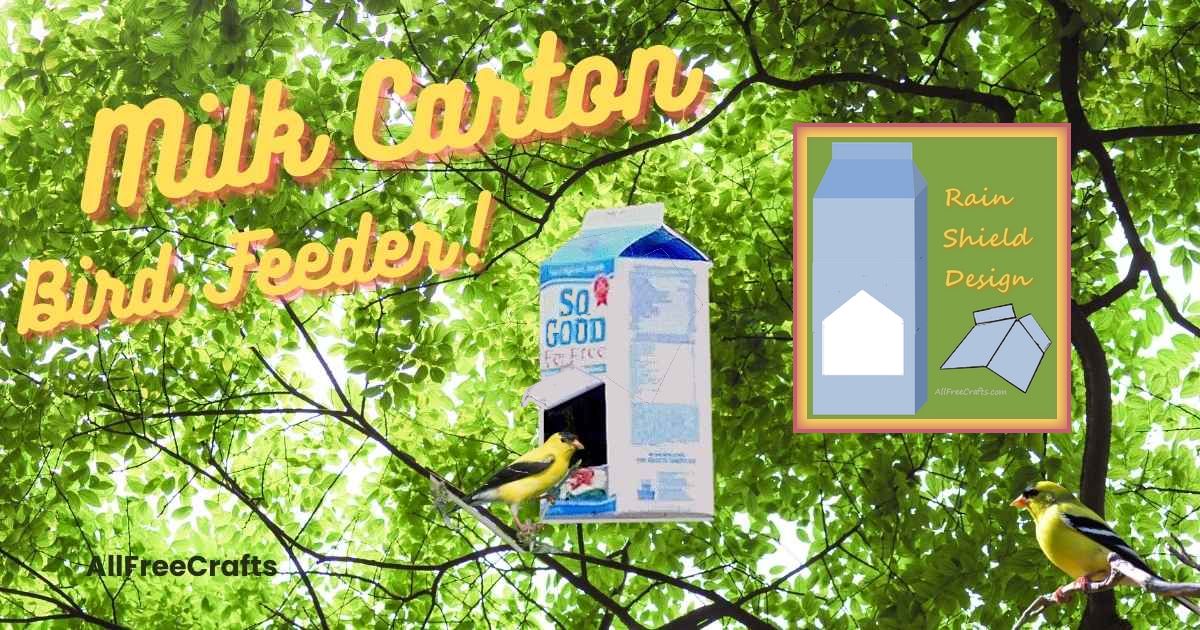
How to Turn a Milk Carton into a Bird Feeder
The small roof made from the milk carton opening in this plan protects the bird seed from rain and snow. This is particularly useful in the winter months when many bird feed platforms become snow covered and unusable. Don’t forget, however, that feeding the birds is a year-long commitment; during the nesting season in spring and summer, the nutritional needs of many birds increases tremendously as they work to build nests and feed their young.

You will need:

- milk or juice carton
- craft knife or scissors
- wax pencil or crayon
- ruler or straight edge
- two small lengths of double-sided tape
- a bamboo skewer, dowel, or straight, small diameter twig to use as a perch
- bird seed
- hole punch
- twine to make a hanger
Step-by-Step Instructions:
1. Use the wax pencil and ruler to draw the shape of the opening on the front of the milk carton, as shown in the diagram below. The opening looks like the outline of a house with a peaked roof. You should allow about three inches at the bottom of the carton to hold a good amount of seeds.
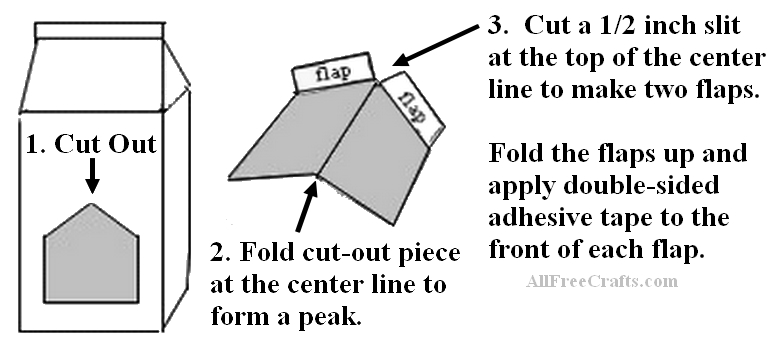
2. Use the craft knife to cut out the opening. Younger children will need an adult to help with this part.
3. Make the Rain Shield: Using the top of the peak as a center point, fold the piece of milk carton that you just removed in half along its length. Make a half inch cut from the point of the peak down the center fold. Fold up a half inch flap on either side of this cut, as shown in the diagram at right.
4. Attach a length of double-sided tape to each flap.
5. Insert this roof piece into the top of the opening and use your fingers to press the flaps against the inside of the milk carton until the double-sided tape holds securely.
6. Poke a bamboo skewer or thin straight twig through the wall of the milk carton, just below the opening. Thread the stick all the way through and out the back wall of the carton. This keeps the perch straight and secure.
7. Use a hole punch or a skewer to punch two holes through the top line of the carton. Thread twine through the two holes to make a hanger.
8. Fill the bottom of the feeder with bird seed or kitchen food scraps that are safe to feed wild birds. Hang your milk carton bird feeder from a tree branch that you can reach easily when you need to add more bird food.
Suggestions:

If you plan to do a lot of backyard bird watching, hang the feeder in a spot that you can see clearly from a window. If the bird feeder is some distance away, use binoculars or a spy glass to see the birds up close.

Buy a good bird identification book and keep a record of all the species that turn up at your backyard feeding station. Record the date that you saw each bird, whether it was a male or female, or a pair of a birds. You may also want to add other observations about their size, appearance, special markings and behaviour.

Fill your bird feeder using a homemade bird feeder scoop made from a plastic juice container. Other easy bird feeders to make yourself include a Teacup and Saucer Bird Feeder, an old-fashioned Window Sill Bird Feeder and this Recycled Bottle Hummingbird Feeder.

Research the birds that you see to find out what types of foods they prefer, or experiment by trying different types of bird seed in your bird feeder to find out for yourself. Reduce food waste in your kitchen by offering food scraps like bread, cereal, fruits and vegetables to the wild birds.
Variations:

Milk Carton Bird Feeder Children’s Activity
The Minnesota Children’s Museum suggests painting and decorating a milk carton bird feeder.
This design has a round hole cut on two opposite sides of the feeder. A stick or dowel is inserted below the hole to act as perch.
Parents should paint the carton with primer first before children decorate with their designs in acrylic paint.


Leave a Reply