Last updated on April 21st, 2024 at 12:00 pm
A free knitting pattern to make a sweet and cuddly 18″ high teddy bear.
Designer’s personal note:
It’s a sad tale but my adult daughter moved a while ago and, during the move, she lost the teddy bear that I bought for her before she was born. His pale blue fur was bedraggled but he was much loved. We expected to find him as the last boxes were unpacked, but no, Snuggle Bear was gone.
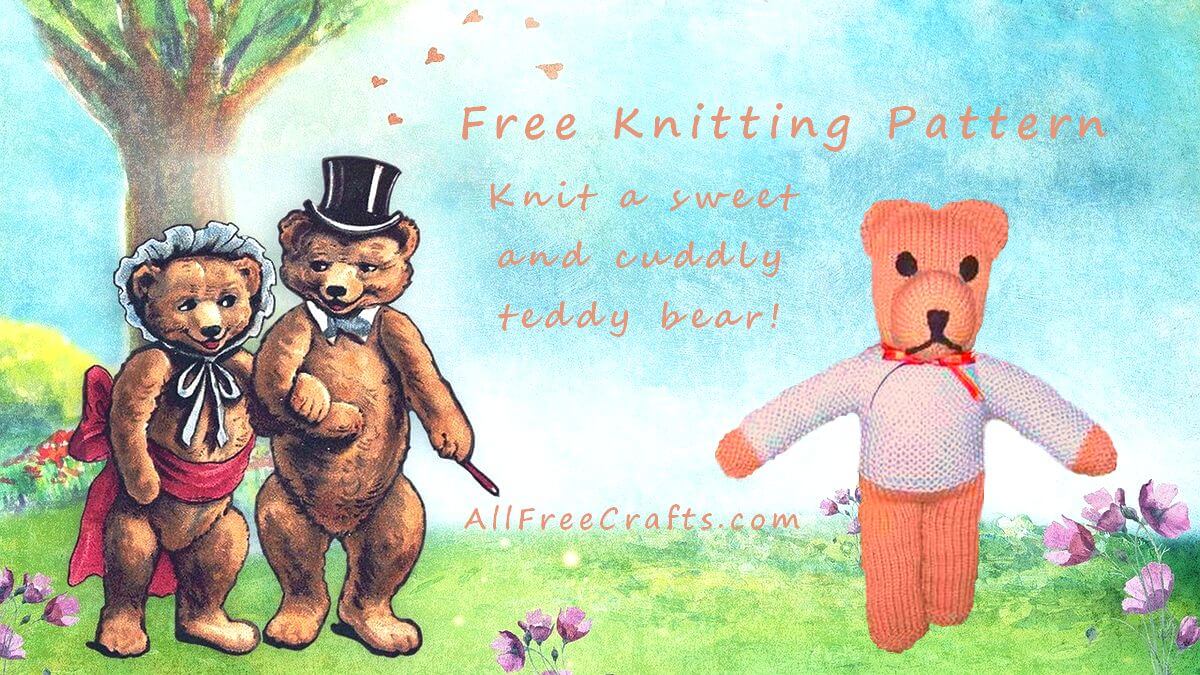
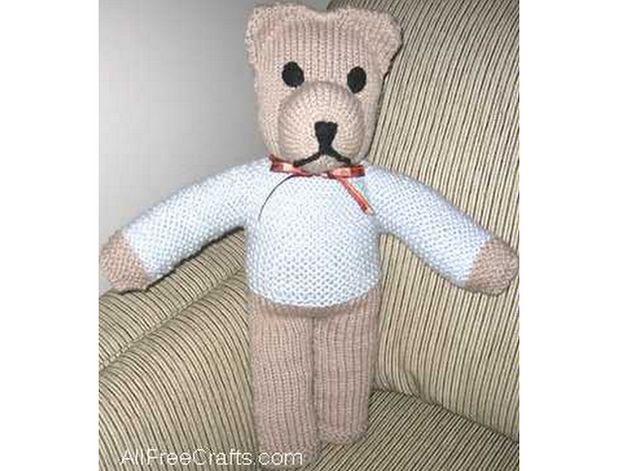
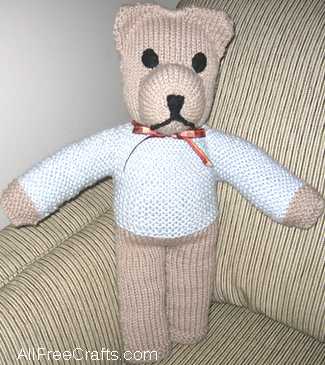
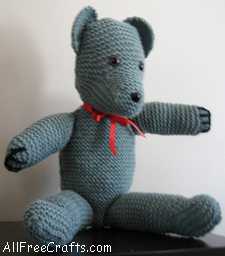
As hope of finding Snuggle Bear faded, I decided that his cousin should come to stay. A special bear, passing on a mother’s love, just like Snuggle Bear once had done. Thus began the knitting of Cuddle Bear, shown above, walking with friends (so, ok, I like fairy tales) and, as you see, below, settled on the sofa.
He has a pale blue sweater, and is a similar size and shape to his Snuggle Bear cousin. But, like all teddy bears, this fella has a lovable personality all his own.
If you know someone who needs a teddy bear to love, you can personalize this teddy bear pattern by knitting the size, colors and style that you like best.
By Jane Lake
What You Need (for one 18″ teddy bear)
-100g (3.5 oz.) of Patons Shetland Chunky Yarn in body color (reduce to one 50g skein if doing trousers in another color)
– one 50g skein chunky yarn in sweater color
– optional: one skein chunky yarn in trouser color
– very small amount of black worsted yarn for mouth
– No. 8 U.K. knitting needles (4:00mm U.S.)
– polyester fibre fill for stuffing
– yarn or darning needle
– small piece of black felt
– black sewing thread
– sewing needle
– scissors
– measuring tape
– optional: ribbon to make a bow
AllFreeCrafts is reader supported! Many supplies are found at thrift stores so try that first! However, if you buy from an affiliate link on this site, I earn a commission at no extra cost to you. As an Amazon associate, I earn from qualifying purchases. This has kept AllFreeCrafts.com online since 2002. Thank you!
Knitting Style – Use either Garter Stitch or Stockinette Stitch
Abbreviations:
St st = Stockinette/Stocking stitch (one row plain, one row purl)
g st = garter stitch
Gauge: Gauge isn’t critical for this pattern, but you’ll want the knitting to be fairly tight so the stuffing doesn’t show through the stitches.
I chose to make the legs, body and and head of Cuddle Bear in stockinette stitch (one row of plain knitting, one row of purl), but it can be worked entirely in garter stitch (all rows in plain knitting), if you prefer. If working all in garter stitch, use a different color on the first 1½” of the leg fronts and the end 1½” of the leg backs, as well as on the ends of the arms, to differentiate the bear’s paws.
Only the muzzle of this teddy bear is worked separately; the rest of the bear is knitted in one piece, according to the diagram shown. The arms are attached by picking up stitches at the side but you could knit the arms separately and sew them in place if you like.
Teddy Bear Knitting Pattern
LEG FRONTS: Cast on 12 sts, and knit in g st for 1½” in g st for paw.
If using a different color for the teddy bear’s trousers, change yarn color now. Continue in St st for 4½”; leg now measures six inches (15cm). Cut yarn leaving a short end and push work to bottom of needle.
Cast on 12 sts and work second leg front the same as the first, until it measures the same length and both pieces are on the same needle. Knit across 24 stitches.
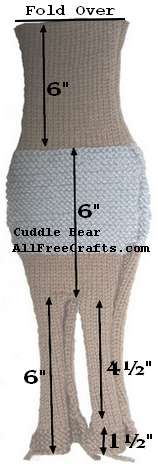
BODY: Work in St st for 1½”. Change yarn to sweater color. Knit in g st for 4″.
HEAD: Change back to body color. Knit in St st for 12 inches (30cm).
BACK: Change yarn to sweater color. Knit in g st for 4″.
Change yarn to trouser color, if using, and work in St st for 1½” ending on a purl row.
LEG BACKS: Knit plain across first 12 stitches. Slip next 12 stitches onto a stitch holder or large safety pin. Continue in St st on first 12 stitches until work measures 4½”. Change to paw color if necessary. Work in g st for last 1½”. Cast off.
Pick up remaining 12 stitches and work as for previous leg back. Cast off.
ARMS: Count down 11 rows from top front of sweater and begin picking up stitches along the front side, one per row, heading toward neck, until you have 11 stitches on needle. Continue picking up stitches, one per row, from top back of the sweater down toward waist, until you have 11 more stitches (22 stitches on needle). Note: The beginning and ending stitches of the arms should meet on the same sweater row to keep the sweater lined up properly upon sewing up.
In sweater color, knit in g st until arm measures 4″.
In body color, knit in g st for 1½”. On last row, knit two together across the row. Cast off.
Make the other arm in the same way as the first one.
MUZZLE: Cast on 36 stitches. Work in St st for 10 rows. Cut yarn, leaving a long tail for sewing on. Thread yarn through stitches and remove from needle. Pull yarn tight to gather muzzle in the middle then secure with a stitch or two, making sure the center is filled in. Sew short seam together.
Time to Give this Teddy his Mojo Back
SEAMING: Where possible, I like to seam with right sides out, so I can see the results as I work. To use this method, fold work in half from the head down, wrong sides together, as shown in the measurements photo.
With matching yarn, and starting and ending just below the sweater line, seam together the fronts and backs of the legs.
EARS: Sew up the sides of the head. To form ears, round off by pushing each corner a little bit to the inside and securing with a stitch or two, then sew a curved line of running stitches or back stitches to make the shape of each ear. I wanted to accentuate the teddy’s round face, so I did a short line of over stitches between the ears, but this is a matter of preference.
ARMS: Sew the bottom arm seams in matching yarn. If the arms appear to stick up too far, take the opportunity now to pull the arms down a little and secure in the desired position with a few stitches under the arm pit.
STUFFING: Stuff legs, head and arms, allowing some of the stuffing from each part to protrude into the body cavity. I tore pieces of stuffing from the roll of fibre fill that were a little longer and bigger than each body part that I was filling. This enabled me to compress the stuffing into the arms, legs and head in a uniform shape, while also leaving some stuffing to spill out from those parts and into the main body cavity. This gives teddy a firm (but cuddly) body shape with arms and legs that don’t flop around.
For those who prefer a flopsy-type cuddly bear, stuff the arms and legs to the edge meeting the body, then sew with running stitches across this line. I didn’t make this little guy with flopsy-style arms, knitted stripes and a different ear treatment, but he’s very cute.
NECK: Beginning at the centre back of the neck, sew a line of gathering stitches in the row just above the sweater. Keep the stitches even and fairly close together. Pull ends to gather evenly around the neck, then tie in a double knot. Weave in remaining ends.
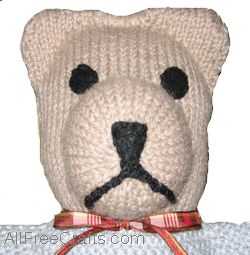
FACE: Altering the size, shape and position of the muzzle, eyes, nose and mouth will do the most for personalizing your bear.
Position muzzle in centre of face, with the bottom just meeting the centre point of the neck. Stuff lightly and experiment with the muzzle’s overall size and shape before stuffing more firmly and sewing down in desired position.
EYES and NOSE:
Cut two eyes and a nose from black felt. I cut three pairs of eyes and three noses, and also tried some buttons, before I found a pleasing combination of felt pieces. The eyes are oval, while the nose is a triangle with rounded points. Try out lots of facial positions and expressions because this is where teddy begins to take on his personality.
MOUTH: Cut two short pieces of black yarn and play with them to find the best mouth position. A smiley mouth might be appealing, but so is a traditional mouth like the one on Cuddle Bear.
Make a chain from black worsted yarn, by finger knitting or crocheting, to the length required for both parts of the mouth. Fold the chain in half and sew the top ½” together with black sewing thread. Use the thread to sew the top of the chain to the bottom centre of the felt nose, then sew the nose to the face. Continue sewing around the felt nose then up and down the black mouth pieces until all is secure and fasten off.
RIBBON or SCARF: Complete your teddy bear with a ribbon bow tie around his neck, or a hand-knitted scarf. For a scarf, cast on 80 to 100 stitches (or however many stitches you want for the length of scarf). Knit four or five rows. Cast off. Sew the middle of the ribbon or the scarf securely at the back of the neck to finish.
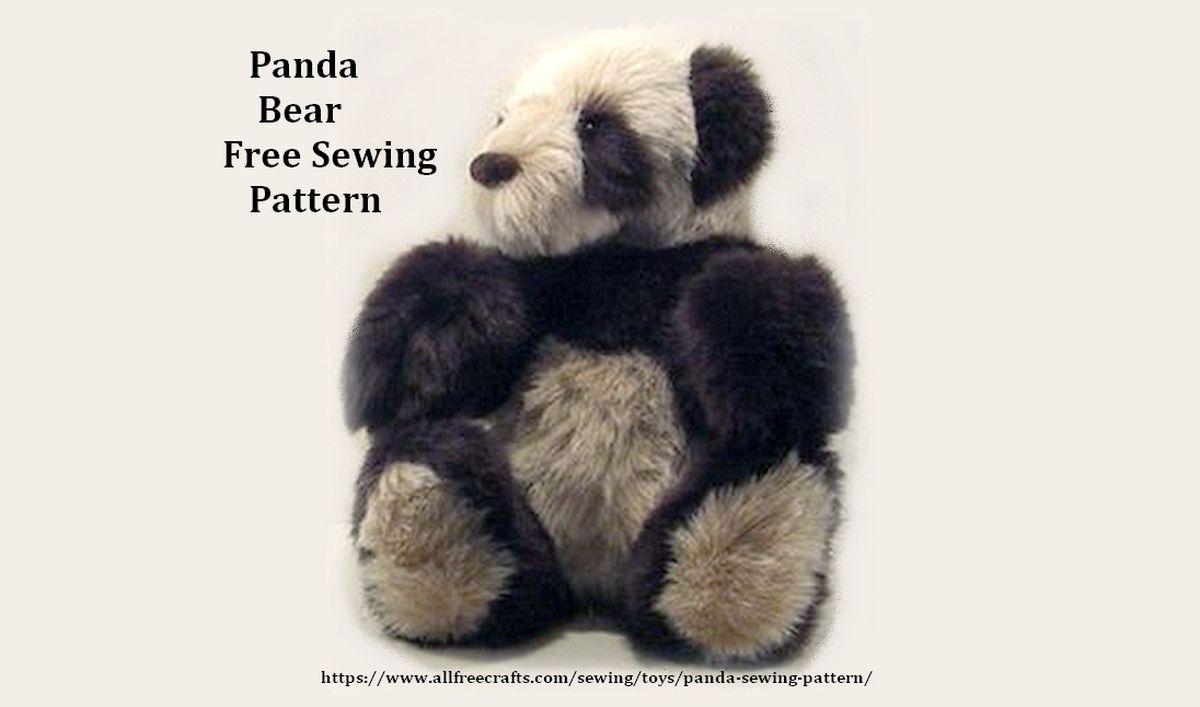
If you’re a dedicated knitted teddy bear fan, you’ll also love the classic Weldon Teddy Bear Pattern! For those of you who sew, I also have a free sewing pattern for a beautiful, faux fur stuffed panda
Directions given are for a large bear, about 18″ high (60cm), using chunky yarn and UK/Canadian No. 8 knitting needles.
To make a bear about 12″ high, use medium needles and worsted weight yarn and reduce the lengths of all body pieces by one-third.
I hope all your knitted bears become beloved companions for those that need them, and I’d love to see photos or read comments of our growing bear family!
elfriede says
can you mail me teddy free knitting pattern
Jane Lake says
No, I’m sorry, but the pattern on this page is already complete and available for you to print or save to your computer for free.