Last updated on January 18th, 2022 at 12:46 am

How to Knit a Tote from Plastic Bags
by Victoria Woodcock
Photography: Molly Crealock
Nearly everyone has a stash of plastic shopping bags. Here is a cunning way to recycle them. Search under your friend’s sinks to get the best colours. Try to avoid the very lightweight thin ones and the very heavy waxy ones; you want your yarn to be sturdy but to have a bit of give to it.
The secret step in this pattern comes at the end where you learn how to gently iron your tote into its final shape.
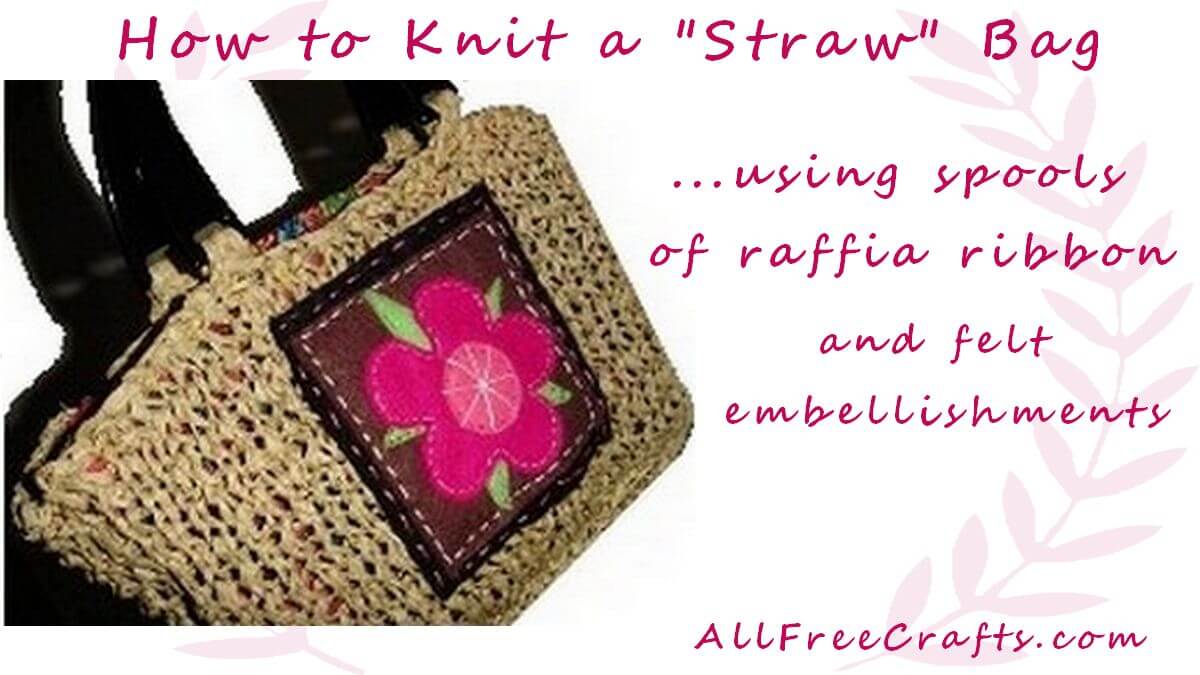
For a throw-back version of a sturdy tote made from raffia see our free knitting pattern: How to Make a Straw Bag
Recycled Plastic Shopping Bag Tote
Size
- »Approximately 32cm high, 28cm wide and 28cm deep
Materials:
- »Approximately 14 plastic shopping bags (may vary depending upon size of bags)
- »US # 10.5/ 6.5mm by 24”/ 60cm circular needles
- »Set of US # 10/ 6mm double pointed needles
- »An iron
- »An ironing board
- »Parchment paper (normally used for lining cake tins)
Gauge
- »10 cm X 10cm = 14 stitches X 18rows in stockinette
- »As this is after all knitted in plastic bags don’t stress too much over this.
Pattern Stitches
Making the “yarn”
Your plastic shopping bags need to be cut into strip using a pair of good sharp scissors. The best way to get a continuous strip is to start at the top and spiral around the bag from the top to the bottom making the strips about an inch (2.5cm) thick. Don’t worry about being exact with the thickness as it looks white cool when knitted if it is a bit uneven, think slubby yarn! Just don’t let it get too thin, as it will snap when you’re knitting the bag and this will be a problem. Loosely roll the ‘yarn’ into balls.

Pattern:
- »Using the circular needle, cast on 80 stitches
- »Knit one row.
- »Place marker at the beginning of the row and after every 20 stitches. Use the same colour for the first and third markers and another for the second and fourth. Join the two ends together and work 14 rounds in stockinette stitch.
- »On the 16th round increase one stitch after the first and third marker. (Using the m1 increase technique is probably easiest).
- »Knit three rounds.
- »On the 20th round, increase one stitch after the 2nd and 4th marker.
- »K 3 rounds.
- »Repeat these 8 rounds until you have 100 stitches. Remember to knit the three rounds stockinette after the increase round!
- »Increase 1 stitch after all four markers for 1 round.
- »K 3 rounds. (104 stitches)
- »Now start to decrease.
- »K2tog after each marker for one round
- »K 3 rounds.
- »Repeat these 4 rounds until you have 88 stitches. Remember to knit the three rounds stockinette after the decrease round!
- »K2tog after each marker for one round.
- »K 1 round
- »K2tog after each marker for one round
- »K 1 round (80 stitches)
- »Transfer stitches onto four double pointed needles
- »Round 1: K3 k2tog to end
- »Round 2: K (and every even round)
- »Round 3: k3 k2tog to last four stitches k2 k2tog
- »Round 5: k3 k2tog to last stitch k1
- »Round 7: k2 k2tog to last stitch k1
- »Round 9: k1 k2tog to last stitch k1
- »Round 10: k2tog to last stitch k1
- »Round 11: K
- »K2tog until 5 stitches remain. Cut your yarn and thread it though the reaming stitches and pull tightly together.
Handles
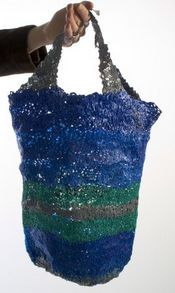
- »Using 6.5mm needles pick up 10 stitches from top of bag. Straps to be worked in garter stitch.
- »With right side facing, k 4 rows.
- »Row 5:K1 ssk k4 k2tog k1
- »K 3 rows
- »Row 9:K1 ssk k2 k2tog k1
- »K 3rows
- »Row 13: K1 ssk k2tog k1 (4 stitches remaining)
- »Continue in garter stitch until section measures 15cm. Place stitches on holder.
- »Repeat three times leaving a 10-stitch gap in between each picked up section.
- »Graft the first and second, then the 3rd and 4th section together to form the handles.
- »Weave in ends.
- »Now stuff your bag full of scrunched up newspaper. And pat and squeeze it into its 3D form making sure that the stitches are not stretched at any point. Leave for 24 hours for the stitches to relax.
Finishing Your Tote Bag
- »Now for the final stage of the transformation. Turning your baggy bag into a sculptural form (I kid you not). This will take little bit of time and patience. Cover the pointed end of your ironing board for around about 50cm with greaseproof paper, attaching it to the underside of the board with tape.
- »Set your iron to a medium/ hot setting, somewhere between wool and cotton (this will vary from iron to iron). Cut another piece of greaseproof paper slightly larger than the cover area of the board. Sandwich your swatch in between the two layers and press down on top with the iron. Continually move the iron over the greaseproof paper covered swatch and keep your eyes peeled for any changes.
- »You will see the plastic begin to melt; the colour of the plastic will show through the paper more clearly than before, as if it has become attached to the paper. Once this has happened to the whole swatch place the iron down and leave the plastic to stand a minute. Then carefully remove the paper to reveal a stiffened version of your knit!
- »This process needs to be applied to all outer surfaces of your bag. It’s a bit tricky, but well worth it. You need to remember that the two sides of the bag should never come into contact whilst ironing or they will fuse together.
- »Place the bag over the end of the ironing board. And wiggle it until the bottom of the bag is touching the ironing board. Manoeuvre the bag so that the bottom is flat down on the board. Iron the circle that makes the bottom! Remember to use the greaseproof paper between the iron and the plastic! Be sure that each section is melted to the desired state before moving on.
- »Now keep turning the bag around the ironing board and work up the sides to the opening. Use the stripes created by different coloured bags as guidelines, iron one stripe at a time. By ironing the bag upwards in sections it will keep to a symmetrical shape.
- »Lastly give the bag handles an iron (the garter stitch takes a little longer to melt than the stockinette).
About the author: Victoria began to knit whilst living in Toronto. Currently back home in England she collects plastic bags, plans future trips across the Atlantic and sometimes recycles second hand clothes into frilly undergarments.



Leave a Reply