Last updated on June 17th, 2016 at 11:06 pm
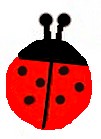
 Fun Foam Ladybugs (or Ladybirds)
By Twila Lenoir
Bright red ladybugs (known as ladybirds in England) are a popular motif in decorating. You can make your own quite easily from fun foam, then add a magnet to attach them to the fridge, or use ladybugs of different sizes to decorate picture frames or mirrors.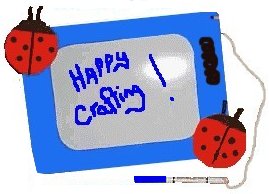
We also used them, as you can see here, on our Fun Foam White Eraser Board.
Craft Supplies:
- craft fun foam sheet in red
- scraps of black fun foam
- black chenille stem or pipe cleaner
- paper punch
- permanent black marker
- circle template
- scissors
- glue
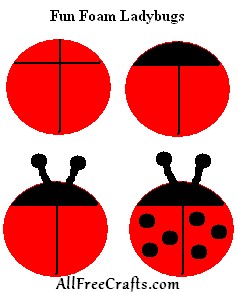
The ladybug diagram on this page illustrates the following steps in this craft project:
1. On the sheet of red fun foam, trace around a circle template that is the size that you want your ladybug to be – a drinking glass might work well for this purpose. Cut the circle out of foam.
2. Draw a black line down the middle of the circle with permanent marker. Draw another line across the top of the ladybug, creating an arc, and color this black, as shown in the diagram.
3. Cut two pieces of black chenille stem or pipe cleaner to use as the antennas. Glue these to the top back of the ladybug.
4. With the paper punch, punch out eight small circles from black construction paper, felt or fun foam. Glue six of the dots to the ladybug’s back, and glue the last two to the top of the antennas.
Variations:
» Glue a magnet to the back to stick the ladybug to the fridge. Make a ladybug greeting card – fold a piece of card stock in half, and glue the ladybug to the front. Write your own message inside!
![]()


Leave a Reply