Last updated on December 30th, 2024 at 10:42 am
Clothespin Mouse DIY
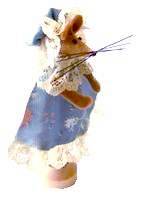
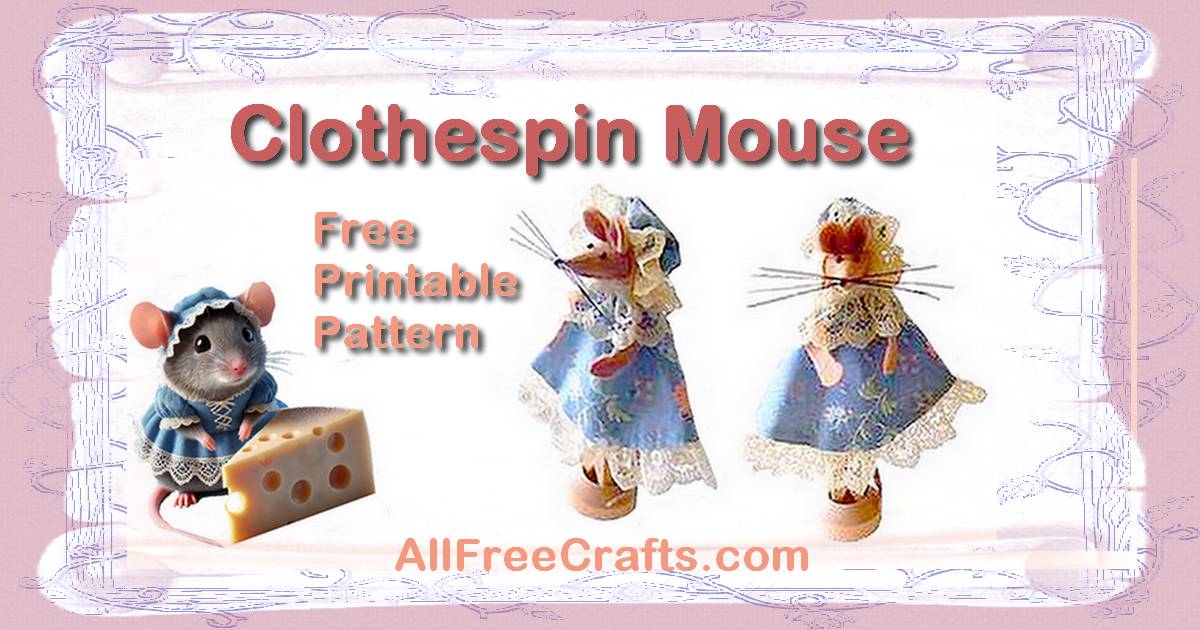
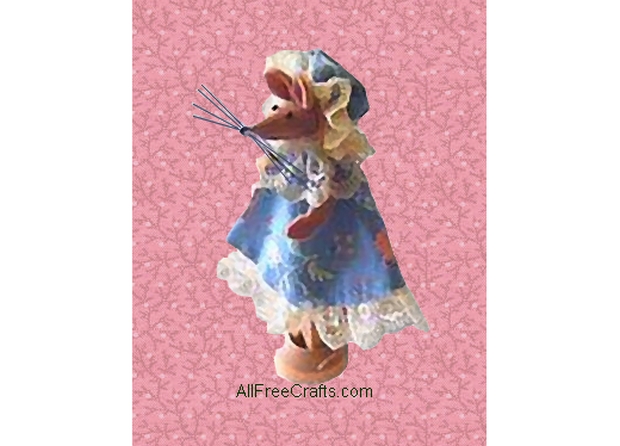
Use our free printable mouse parts pattern to make this sweet little clothespin mouse.
The only sewing needed is a hand-sewn basting thread around the wee hat and the lace dress collar to gather them around the mouse.
Supplies:
- wooden clothespin – of the type shown below
- wooden clothespin stand or small amount of plasticine and a bottle cap
- scraps of fabric
- small amount of pregathered lace
- a few black bristles from a broom or paintbrush or black embroidery thread for whiskers
- three black seed beeds
- small amount of grey or light brown felt
- tiny amount of stuffing or a cotton ball
- scissors
- needle and thread
- tacky craft glue
- printed mouse pattern
Craft a Clothespin Mouse:
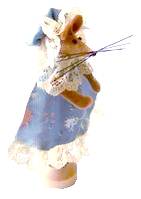
1. Print the mouse pattern, then cut out the pieces. Trace each piece on felt or fabric, as indicated, and cut the required number of each piece.
2. Run a line of tacky glue along one straight edge of the nose pattern and butt it against the other long edge, forming a cone shape. Glue the opening of the cone to the round part of the clothespin.
3. Glue the flat, hemmed area of a length of pre-gathered lace all around the wrong side of the fabric circle for the hat. Thread the needle and sew a basting stitch around the hem of the lace, leaving a length of thread at
both ends. Pull both threads so the fabric circle gathers up into a hat shape and knot the threads together.
Place a small amount of stuffing inside the hat, then glue the hat on the back of the clothespin so that it covers the top of the clothespin and the lace surrounds the mouse face.
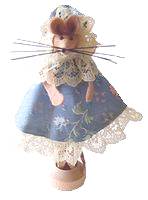
4. Glue lace to the wrong side of the dress edge. Glue another length of lace to the right side of the dress as a collar.
Run another basting stitch along the back of the dress neck, near the edge, leaving a length of thread at both ends.
Place the top of the dress against the neck of the clothespin, and pull the two basting threads together at the back to gather the dress around the clothespin. Knot the threads to fasten. Glue the back of the dress together.

5. Put a small dot of glue at the top of each arm. Slide the top of each arm under the lace collar and glue to the dress fabric in the desired position.
6. Put a small amount of glue along the bottom edge of each ear and pinch together to curve into an ear shape. Add a little more glue, and attach both ears to the head, just in front of the lace hat and above the felt nose.
7. Run a line of glue all along the straight edge of the tail, right down to the point, then roll lengthwise to make the tail. Glue the tail to the back of the clothespin so that it can be seen coming out from under the dress.
8. Put a small dot of glue onto a spare bit of felt or paper. Pick up a black seed bead with the point of the needle and dip it into the glue, then gently position it on the nose (just in front of an ear) as one of the eyes. Repeat with another bead to make the other eye.

9. Finally, thread one or two broom or paintbrush bristles (or black embroidery thread) through the last seed bead, as whiskers. Dip the seed bead into glue then hold it against the point of the nose until the glue holds it in place. Once the glue is fairly firm, you can dip a few more bristles into the glue and set them in place just behind the seed bead.
To Display the Clothespin Mouse:
If you have a clothespin stand, set the clothespin into it to stand the mouse up. If you don’t, fill a plastic pop bottle cap with plasticine or play dough, and set the legs of the clothespin into the plasticine.
Children might like crafting a pompom mouse as well!

More Clothespin Projects on AllFreeCrafts:
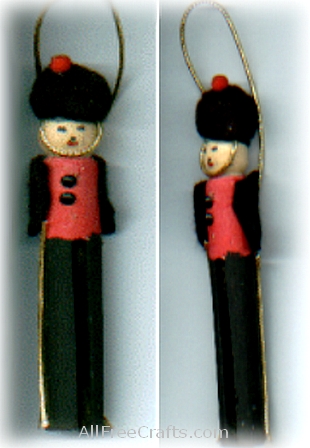
For Easter, make a Clothespin Easter Bunny, or for Christmas, a Clothespin Toy Soldier or Rudolf the Red-Nosed Reindeer.
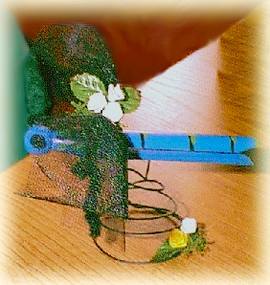
You may also enjoy making Inspirational Clothespins or a Gossamer-Winged Clothespin Dragonfly.



Leave a Reply