Last updated on January 14th, 2025 at 01:32 am
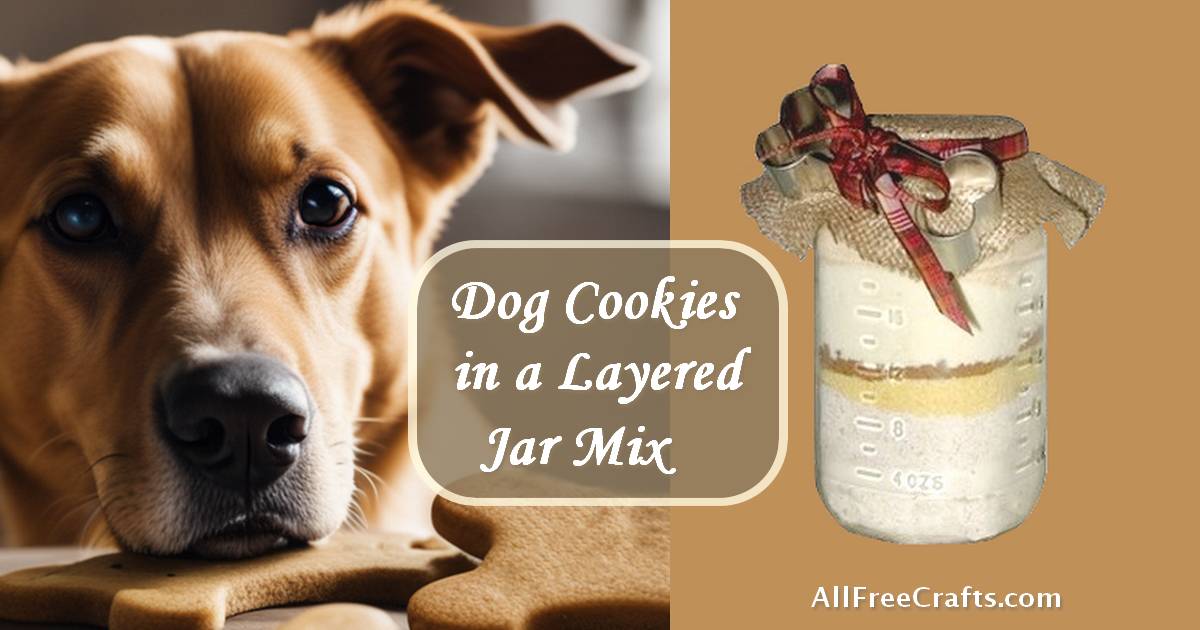
A layered dog biscuit jar mix, ideal for gifting the dog owners in your life. A free printable jar label gives the easy baking instructions – just combine with two eggs and water then bake.
by Jane Lake
My two shadows, a pair of shelties, were the taste-testers for this dog biscuit recipe. And, yes, once again, I tried it with them! We tried several versions together until we tweaked the ingredients into the best taste combination.
These dog cookies are more flavorful than you might think. The boullion granules lend a beef or chicken base, but aren’t overpowering, while the parmesan is well represented too. Intriguing for my dogs, when sniffing the air around the oven, once they realized that the baking was for them!
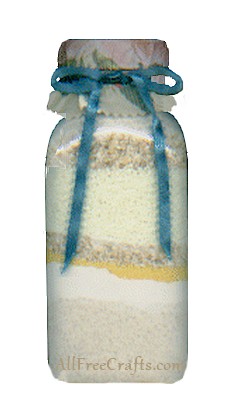
Layer the Dog Cookie Ingredients in a One Quart Mason Jar
Simply layer the ingredients, in the order given, in a one quart glass jar. Gently pack down each layer with the back of a spoon and make sure the jar is filled to the top. You don’t want the contents shifting about inside and messing up the layers.
AllFreeCrafts is reader supported! Many supplies are found at thrift stores so try that first! However, if you buy from an affiliate link on this site, I earn a commission at no extra cost to you. As an Amazon associate, I earn from qualifying purchases. This has kept AllFreeCrafts.com online since 2002. Thank you!
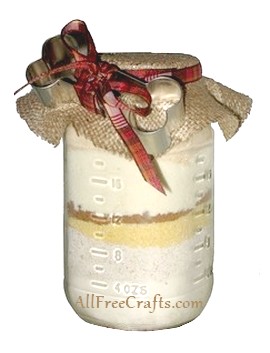
Ingredients:
- 1 cup unbleached or whole wheat flour
- 1 cup of oatmeal, blended into flour
- ½ cup cornmeal
- 2 tsps beef or chicken boullion granules
- 1 cup skim milk powder
- ½ cup grated parmesan cheese (I used the grated parmesan that is commercially made to sprinkle on pasta)
- ¼ cup (approximately) of flour, or enough to fill a one quart jar
- optional – cookie cutter in a dog bone shape (Amazon)
Decorate the Jar and Add Free Printable Directions Label
I covered the jar lid with a 6 ” circle of burlap, held on with a rubber band, then covered with a tartan ribbon. The ribbon can hold both the printable directions label and, in my case, a bone-shaped cookie cutter (Amazon). I hadn’t printed the label when I shot these photos, but I know from other jar projects, such as my new one for versatile Basic Scones that it works well.
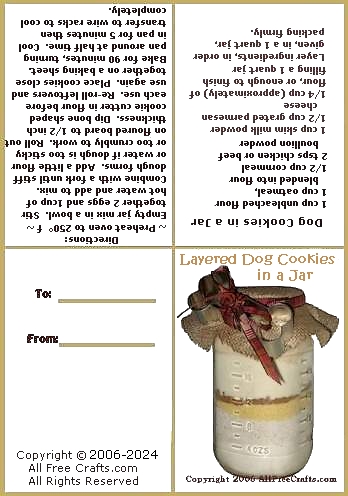
The recipe for the dog cookies, plus the directions to bake them, are all included on the free printable jar label shown here.
Just print, cut out, and fold as you would a four fold card – in half, then in half again, so that the photo is on the front and the recipe and instructions are inside. On the back, you’ll have a “To” and “From” tag for gift giving.
Punch a hole in the top left corner. Thread the ribbon through the hole and knot to secure.
Add the cookie cutter by circling it around the middle with first one end of the ribbon, then the other, with each end going in opposite directions so you can tie them together. Finally, form a small bow then trim the ends evenly, using a slanted cut to help prevent fraying.
Baking the Dog Cookies
Directions are also printed on the jar label:
Preheat oven to 250° farenheit.
Empty jar mix into a bowl. Stir together two eggs and 1 cup of hot water and add to mix. Combine with a fork until a stiff dough forms. Add a little flour or water if dough is too sticky or too dry to work.
Roll out dough on floured board to ½ inch thickness. Dip cookie cutters in flour before cutting out each cookie. A bone-shaped cutter (Amazon) is cute, but any shape will do. Re-roll the leftovers and cut as many cookies as possible.
You can place cookies close together on a baking sheet as they will not spread while baking. Bake for about 90 minutes, or until cookies are dry and hard, turning pan around at half time to ensure even cooking. You can turn off the heat, but leave the cookies in the oven to dry out without further cooking if necessary. Dog cookies are usually baked until they are hard and crunchy. Let cool completely before storing in an airtight jar.
Healthy Homemade Dog Cookies Recipe: not an ideal gift-in-a-jar, but would certainly be welcomed by any dog owner or dog. Low-fat, vegetable-based recipe creates healthy dog cookies that will keep for up to two weeks in the fridge or longer in the freezer.
A Debate About Garlic for Dogs
Editor’s Note: Please remember: only you, and your vet, can decide what is safe for your dog.
The original dog cookie recipe here included 1 teaspoon of garlic powder. Personally, I’ve never found this an issue for my dogs, but there is increasing debate about whether garlic is toxic for dogs. Please see Can Dogs Eat Garlic from the American Kennel Club for more on this topic.
Because it is questionable, I decided to remove garlic from the recipe ingredients and the label.
As always, it is up to you (and your vet) to decide what is best for your animals.
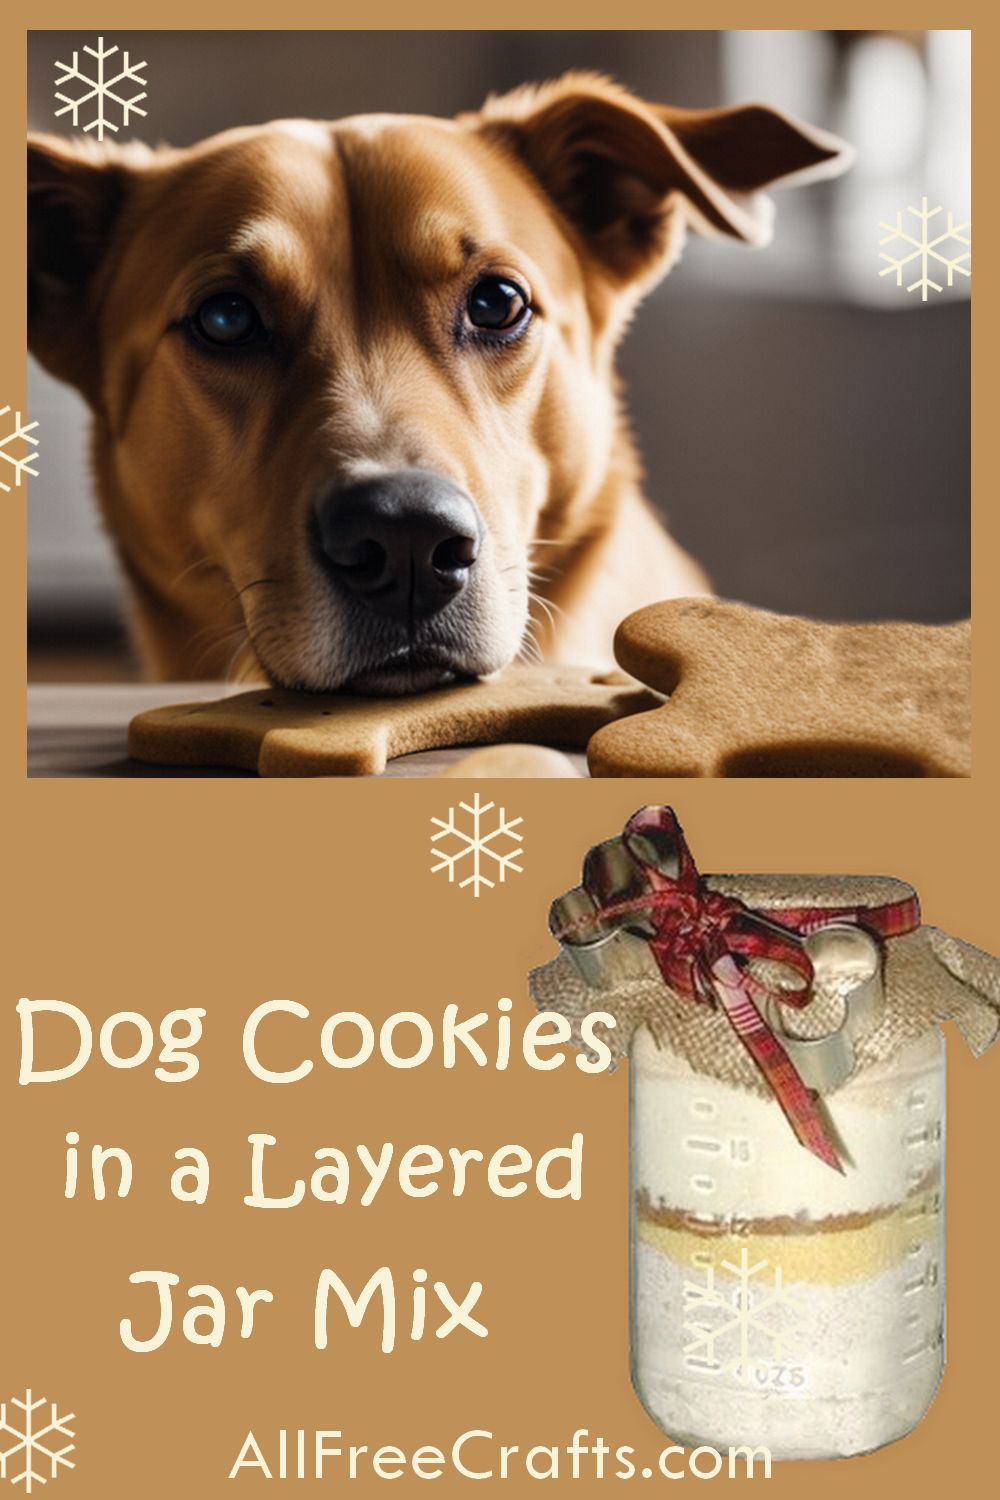


Garlic is toxic for dogs, there shouldn’t be any in treats for them.
Hi, Lisa,
This is a topic that is up for debate. My understanding is that many of the studies used to indicate garlic toxicity in dogs are based on huge daily garlic intake. Many food products would be toxic if you ingested too much of them. I, personally, have given my dogs small amounts of garlic in their food, or occasional treats, with no ill effects. Some people believe garlic is a flea deterrent and has other beneficial effects.
However, I have decided to remove the garlic from this recipe, both in the ingredient list and on the printable label. The cookies are still delicious for the dogs without it!
As always, it is up to every dog owner (and their vet) to decide what is safe for their dog.
Thank you so much for your opinion and valuable input.