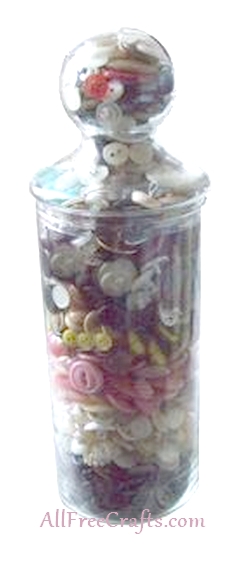
 Here’s how to make a layered button jar as a homemade gift for the crafter or sewing enthusiast in your family. This is an easy gift that is both practical and pretty.
By Jane Lake
To make the jar exactly as shown, you’ll need a decorative glass jar that has a hollow glass dome ball as part of the lid. However, this layered gift in a jar idea can also work well with a mason jar or recycled food jar – just cover these jar lids with a fabric circle held in place by an elastic band; cover the elastic band with ribbon or raffia.
Craft Supplies:
- clear glass jar with a hollow ball dome on the glass lid or a mason jar or recycled glass food jar
- lots and lots of buttons in assorted colors
- clear packing tape
Project Directions:
1. Empty all of your buttons on a flat working surface. Sort the buttons into piles of separate colors.
2. Pour the largest pile of buttons (whatever color that may be) into the jar. Add the next largest pile, then the next, until you reach the top of the jar.
Tip: To keep the colored layers of buttons from mixing, cut circles of clear plastic just a little smaller than the diameter of your jar. Add a circle of plastic between each layer.
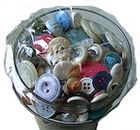 3. If you’re working with a dome-topped glass jar, turn the dome lid upside down over an empty tin can. Fill the lid with your choice of colored buttons. Keep the buttons in place by covering the glass lid with strips of clear packing tape stretched right across the top (see photo at right). Clip the tape all around the lid, allowing a small overhang. Use your fingers to carefully push the overhanging tape inside the perimeter of the jar lid, so the sticky side sticks to the glass.
4. You may need to remove some buttons from the top of your jar to get the taped lid containing buttons to fit comfortably. Experiment until you have what looks like a completely seamless continuation of layered buttons.
5. Seal the jar by running a piece of clear packing tape all around the join between the lid and the jar.
Leave a Reply