Last updated on November 11th, 2023 at 08:14 pm
I used a brushed acrylic for the white and regular worsted for the body, and this makes a difference. The brushed is bulkier and so requires fewer rounds. If you want to do it all in worsted, you might have to adjust this pattern.
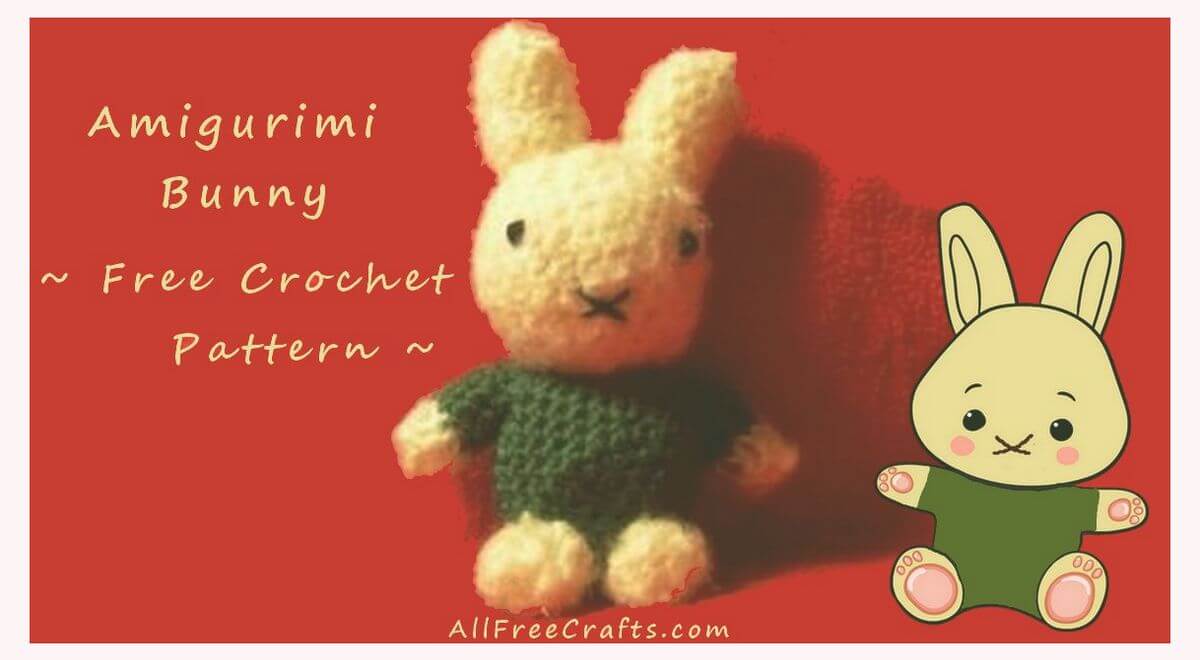
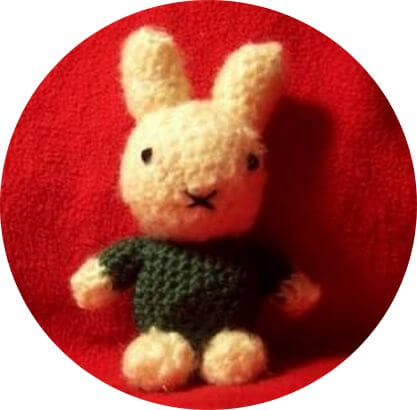
Free Crochet Amigurumi Bunny Pattern
by Shannon Aileen
This is my version of a Japanese Amigurumi design that I HAD to make, but couldn’t translate.
Amigurumi is all crocheted in the round which is how I do many of my designs.
Editor’s Note:
If you’re interested in tiny toys done in amigurimi style, check out our free crochet amigurimi teddy pattern!
Supplies:
G hook
- Two colors of yarn
- Stuffing
- Black embroidery floss
- Tapestry needle
Amigurumi Bunny Pattern Instructions
Head:
Ch 2, 4 sc in 2nd ch from hook. Join to first sc.
Ch 1, 2 sc in each sc (8 sc).
Join.
Ch 1, *1 sc in next sc, 2 sc in next sc*. Repeat around, Join.
Ch 1, *1 sc in each of next 2 sc, 2 sc in next sc* around. Join.
Ch 1, *1 sc in each of next 3 sc, 2 sc in next sc* around. Join.
Ch 1, do three rounds of even sc.
Ch 1, * 1 sc in each of next 3 sc, decrease over next 2 sc* around. Join.
Ch 1, *1 sc in each of next 2 sc,dec over next 2* around. Join.
Ch 1, *1 sc in next sc, dec over next 2* around. Join. Repeat.
Stuff, continue decreasing until hole is shut. Fasten off.
Body:
Begin as for head. When you get to *sc in next 3 sc, 2 sc in next*, do that row twice.
Ch 1, *1 sc in each of next 4 sc, 2 sc in next sc* around. Join.
Now do 5 rounds of even sc.
Ch 1, * sc in next 4 sc, dec over next 2 sc* around. Join.
Continue as for head, subtracting one sc between decreases until it’s time to stuff; then continue decreasing until the hole is shut. End off.
Ears (make 2):
Ch 2, 4 sc in 2nd ch from hook. Join. 2 sc in each sc.
Now do 6 rows of even sc. Stuff, fasten off (do not decrease).
Arms (make 2): Begin with body color.
Ch 2, 4 sc in 2nd ch from hook. Join. 2 sc in each sc.
Join. Now do 4 rows of even sc. Fasten off, join fur color in any sc.
Do one row even sc,stuff, then do solid decreases around until shut.
Feet and tail ( make 3):
Ch 2, 4 sc in 2nd ch from hook. 2 sc in each sc.
*1 sc in next sc, dec over next 2* around. Stuff. *solid dec* around. End off.
Sew appendages to body as in the picture, and embroider face with black thread.
About the Author: Author Shannon Aileen is the creative force behind a blog called myloveasdeep.
More AllFreeCrafts Patterns for Crocheted Toys
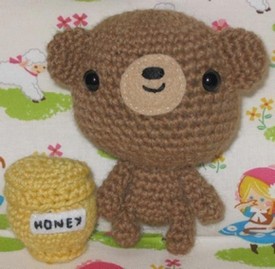
Sweet Amigurumi Teddy Bear stands about 4″ high. Includes a pattern for the teeny honey pot too.
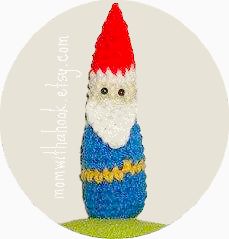
This sweet little Christmas gnome stands only three inches high – perfect for hanging on the Christmas tree.


Leave a Reply