Last updated on September 22nd, 2015 at 11:15 pm
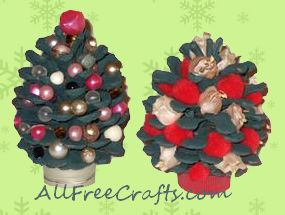
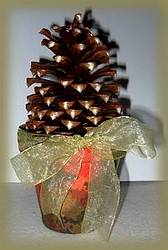
Turn pine cones into pretty miniature Christmas trees with three easy steps in this free Christmas craft project.
By Jane Lake
Craft Supplies for One Ornament:
- fully opened, dried pine cone
- assorted beads, small silk flowers or other small embellishments
- soda bottle cap or metal bottle cap
- green acrylic craft paint and a paint brush, or green spray paint
- craft glue
- tweezers
- optional: glitter or glitter glue
Project Instructions:
1. Paint the pine cone completely green. If desired, you can add sparkle by dusting the pine cone with glitter while the paint is still wet. Alternatively, wait until the paint is dry, then randomly add glitter glue to the tips of the pine cone.
2. Glue the bottle cap to the bottom of the pine cone.
3. To add beads, small silk flowers or other Christmas embellishments, use tweezers to dip each piece into a small puddle of craft glue, then into a space on the pine cone. Make sure that you push each bead or embellishments firmly into place.
Leave a Reply